

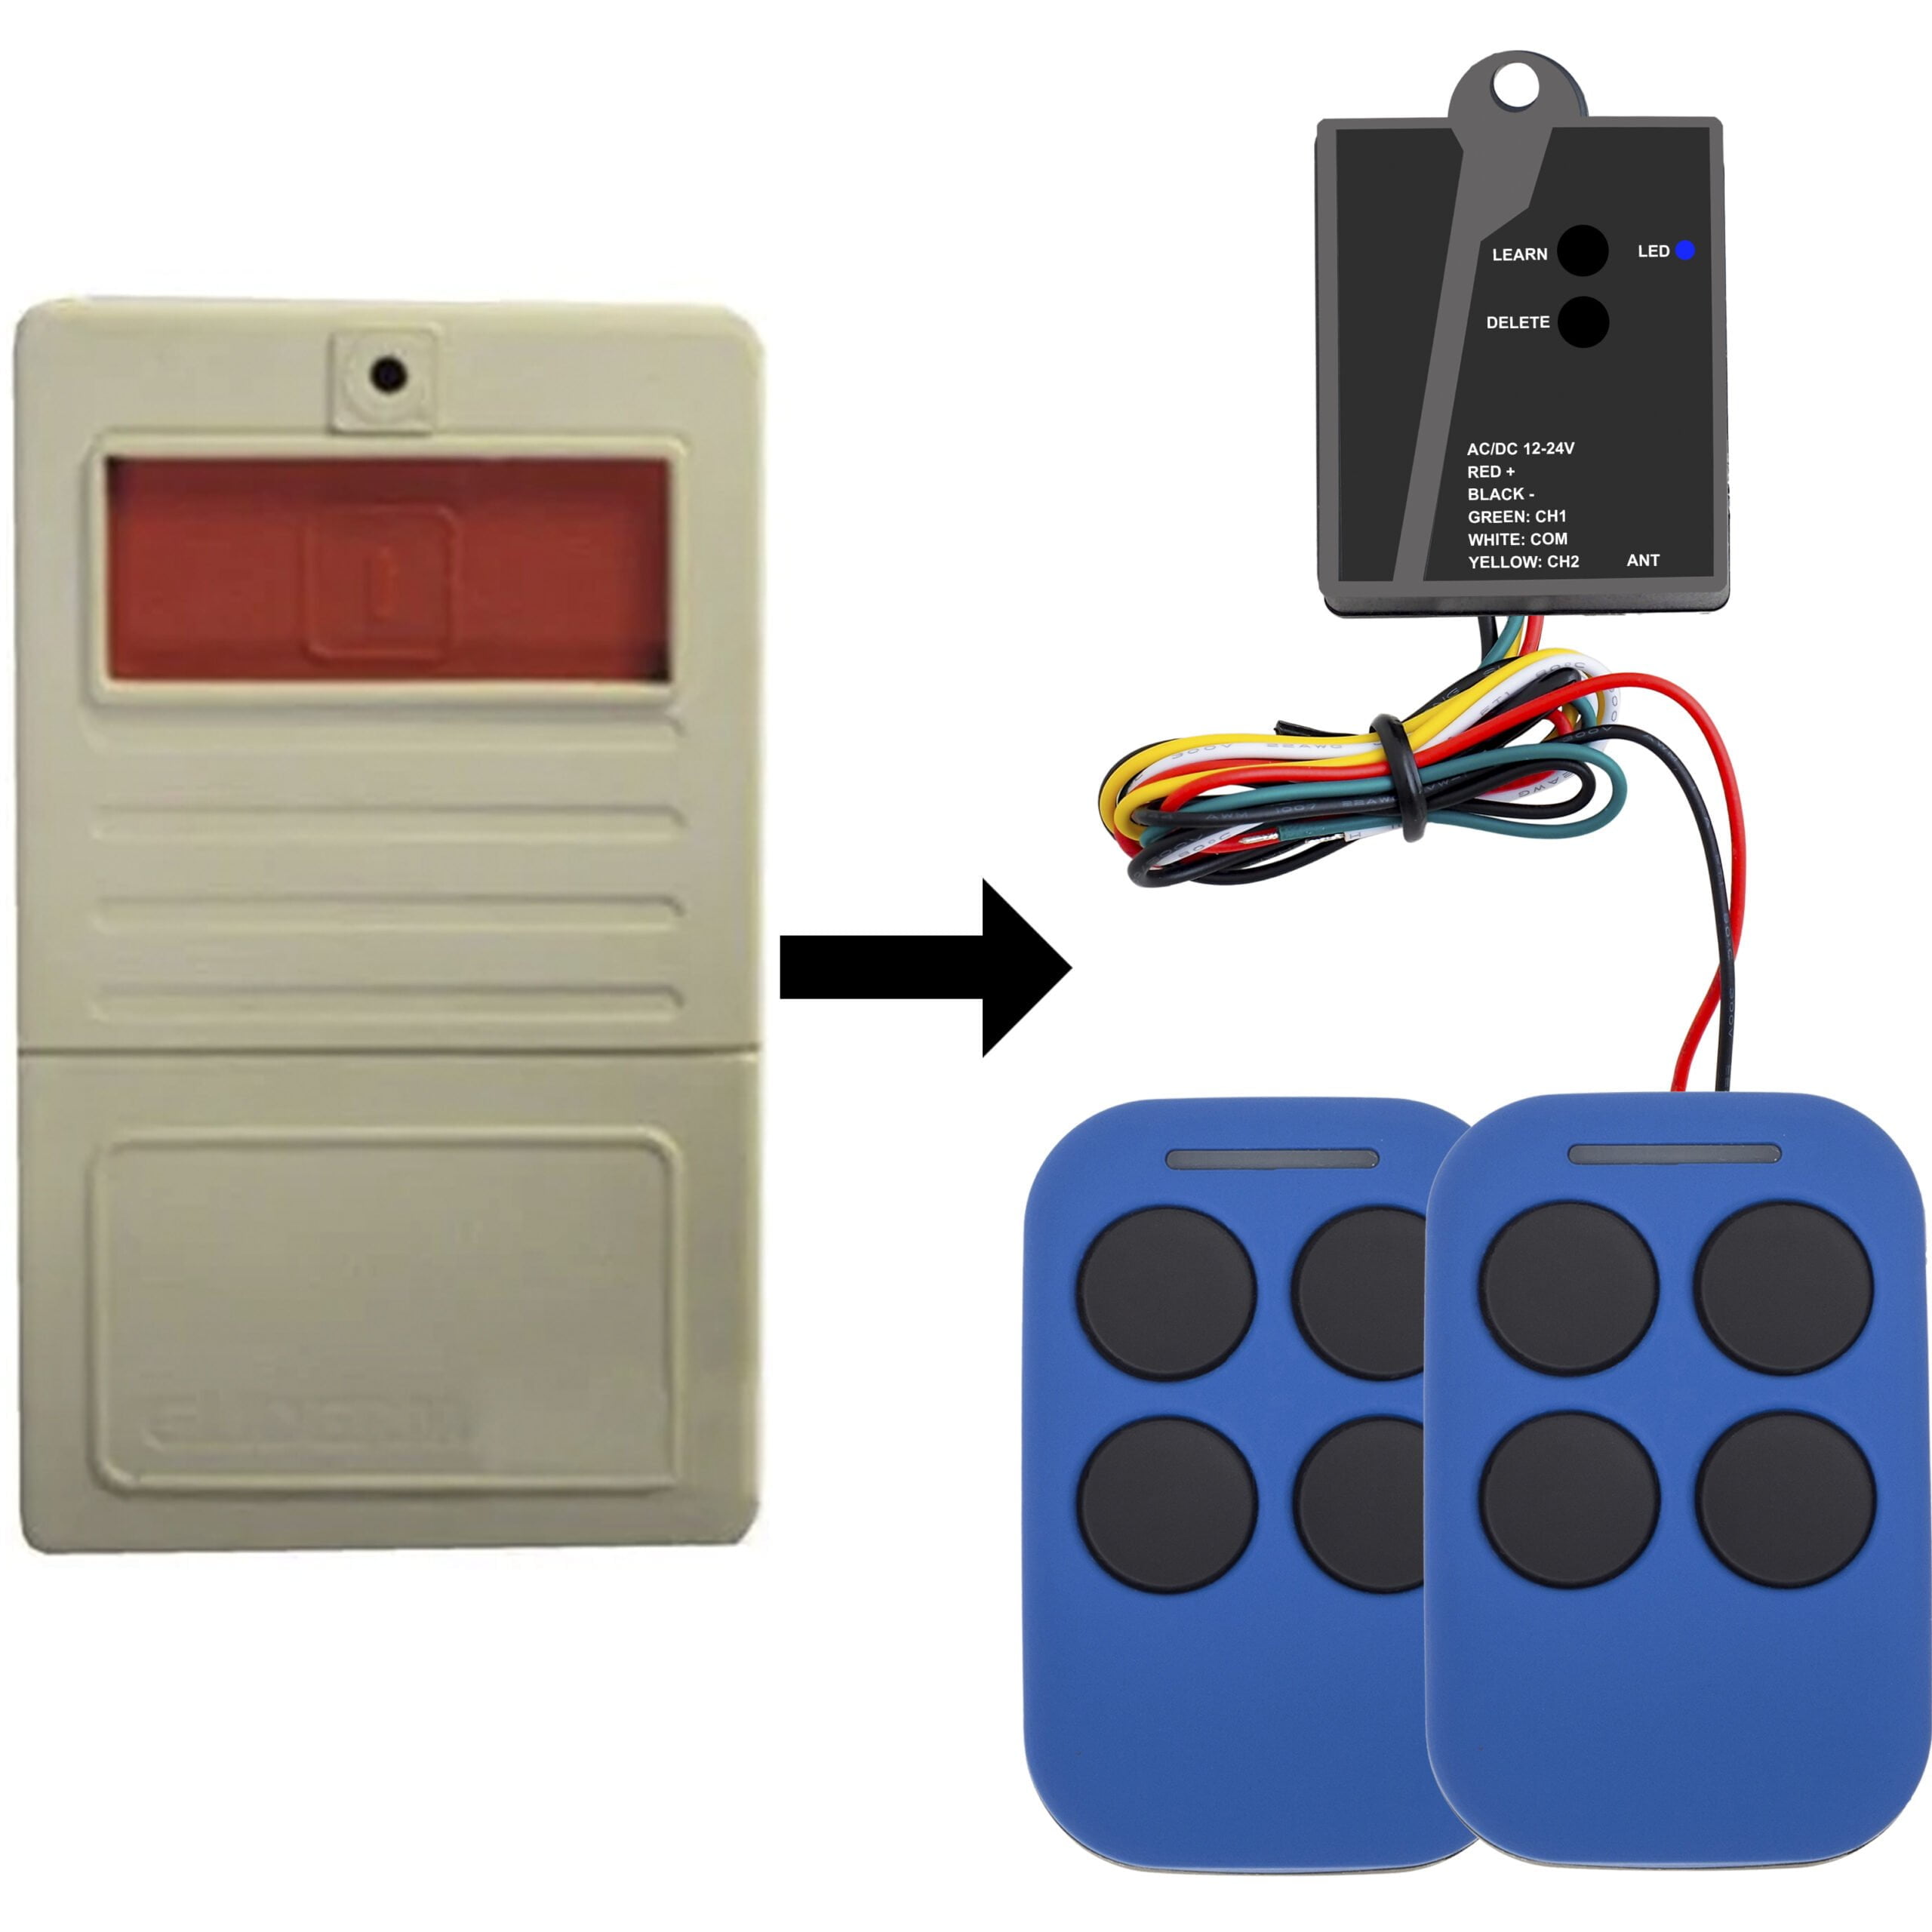
Glidermatic GTX2 upgrade receiver remote kit


$89.95
Glidermatic GTX2 Upgrade Receiver Includes
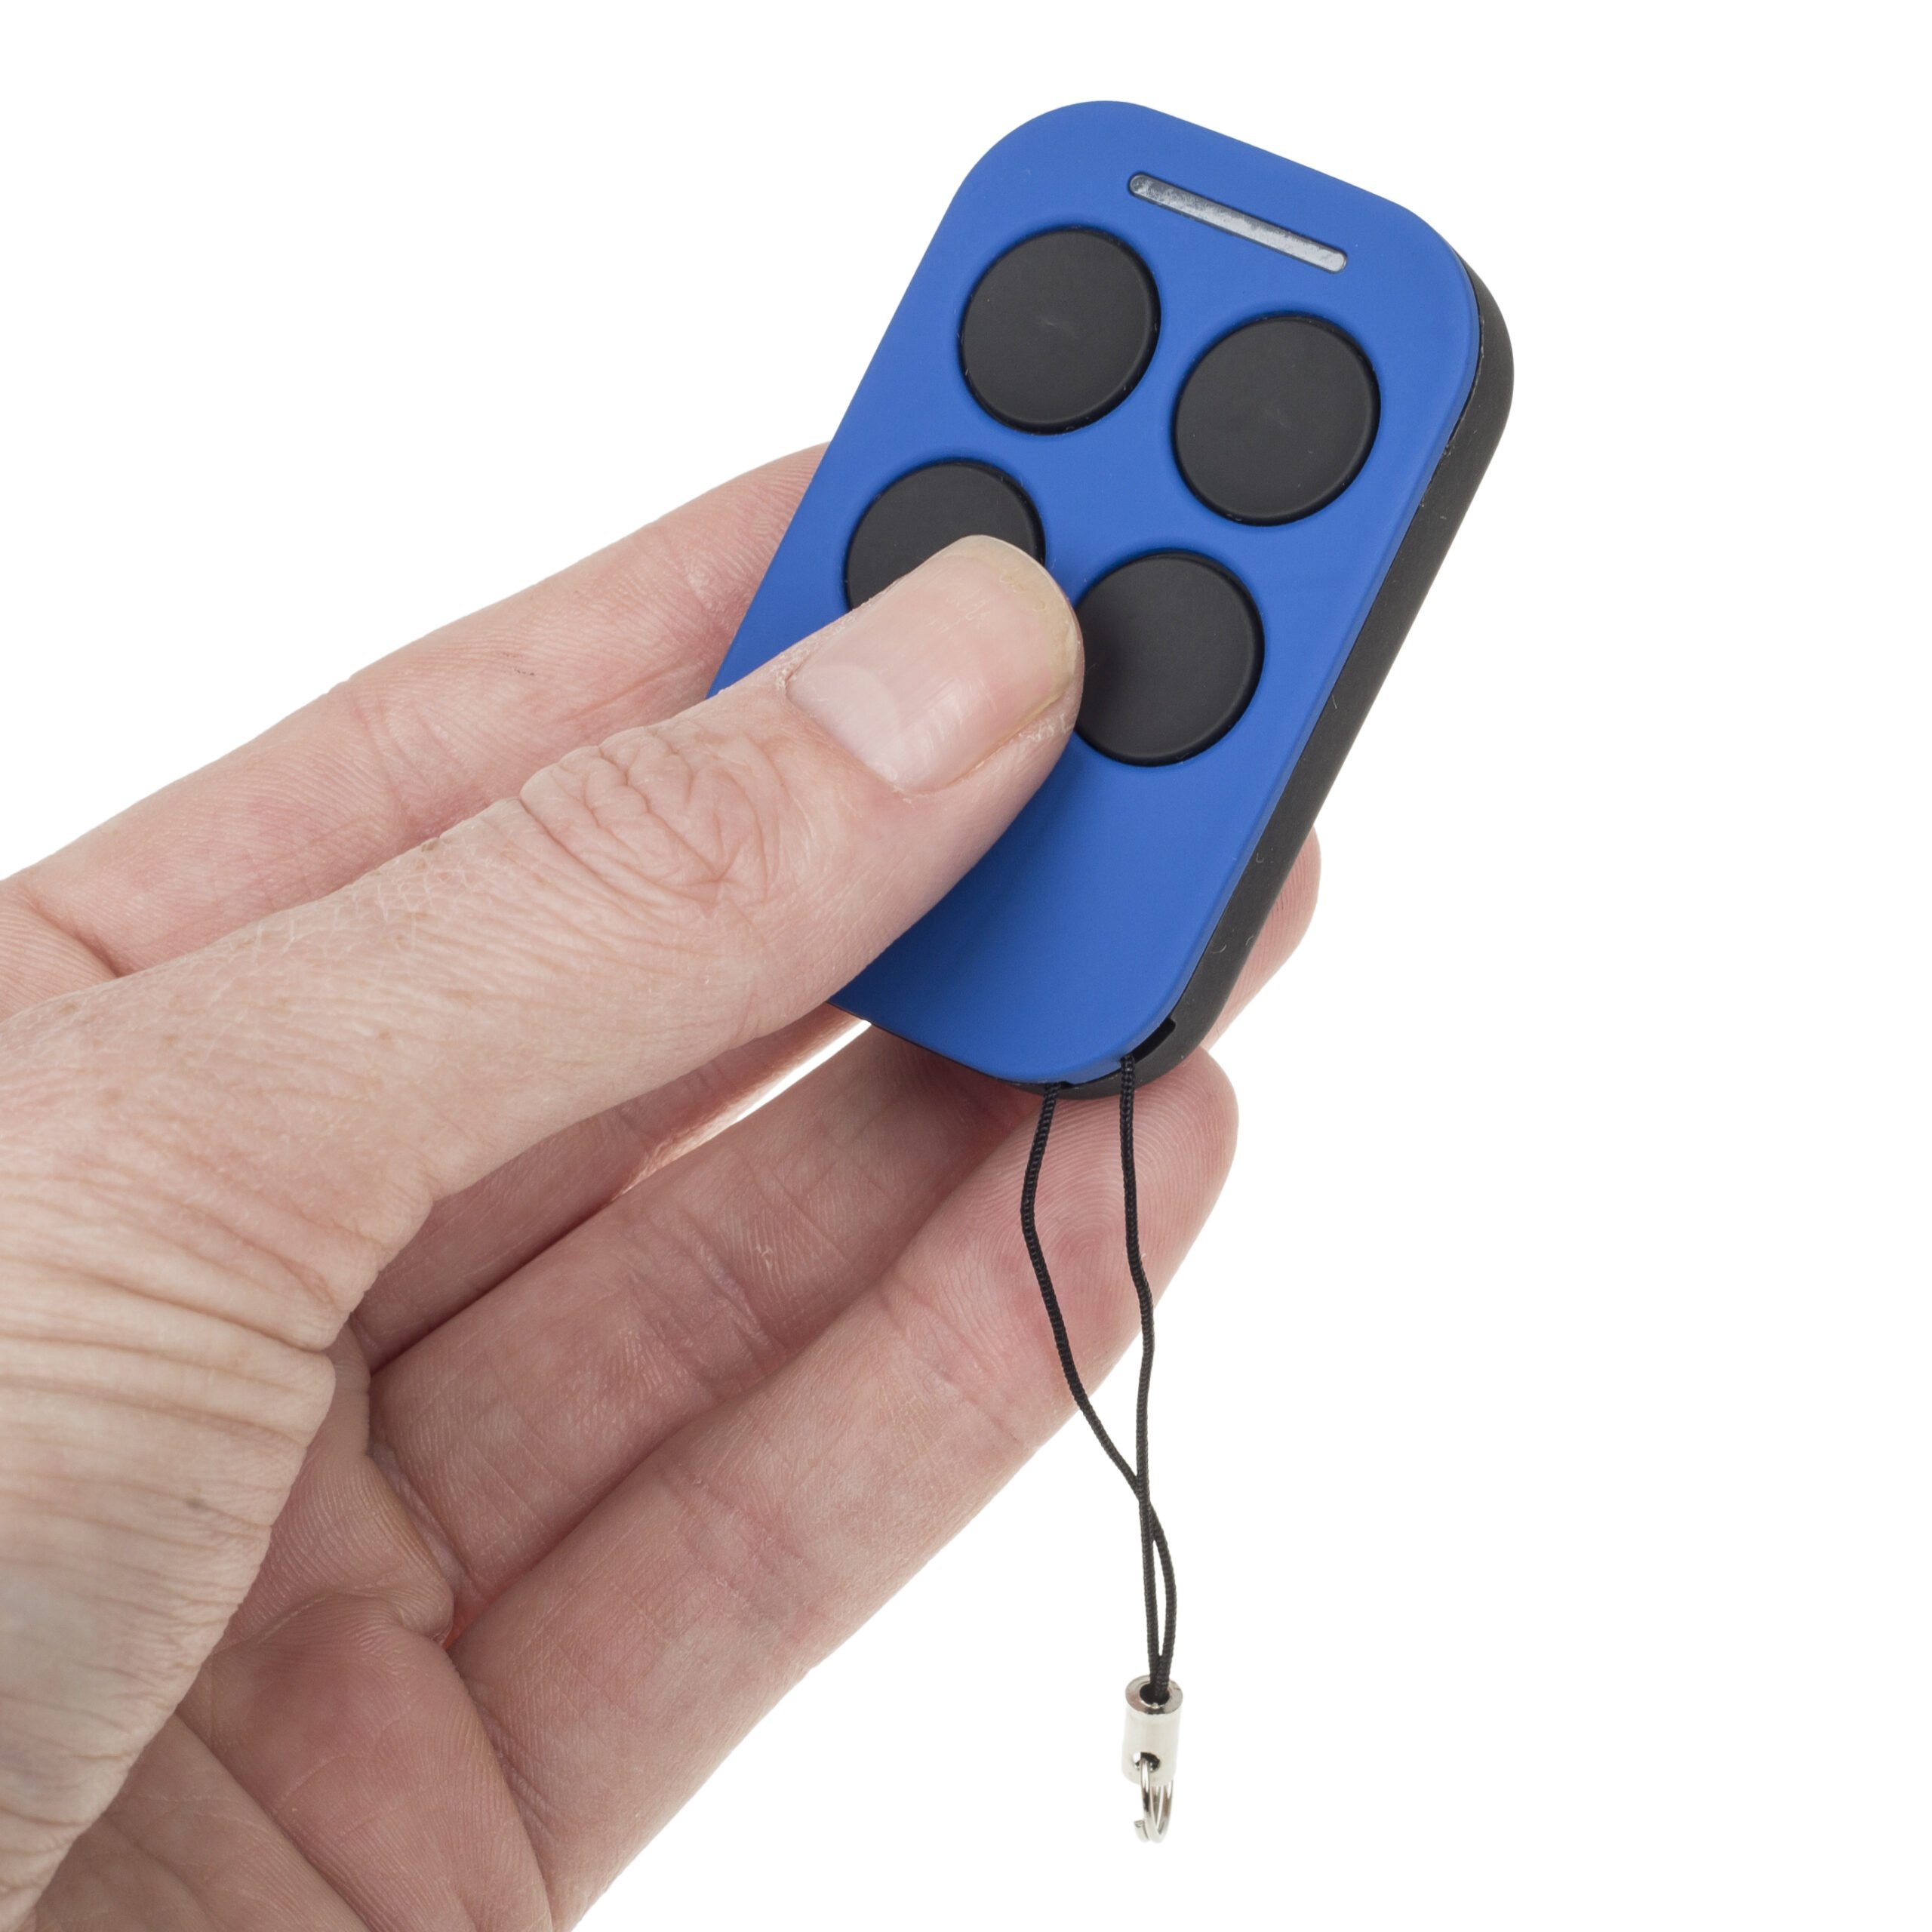
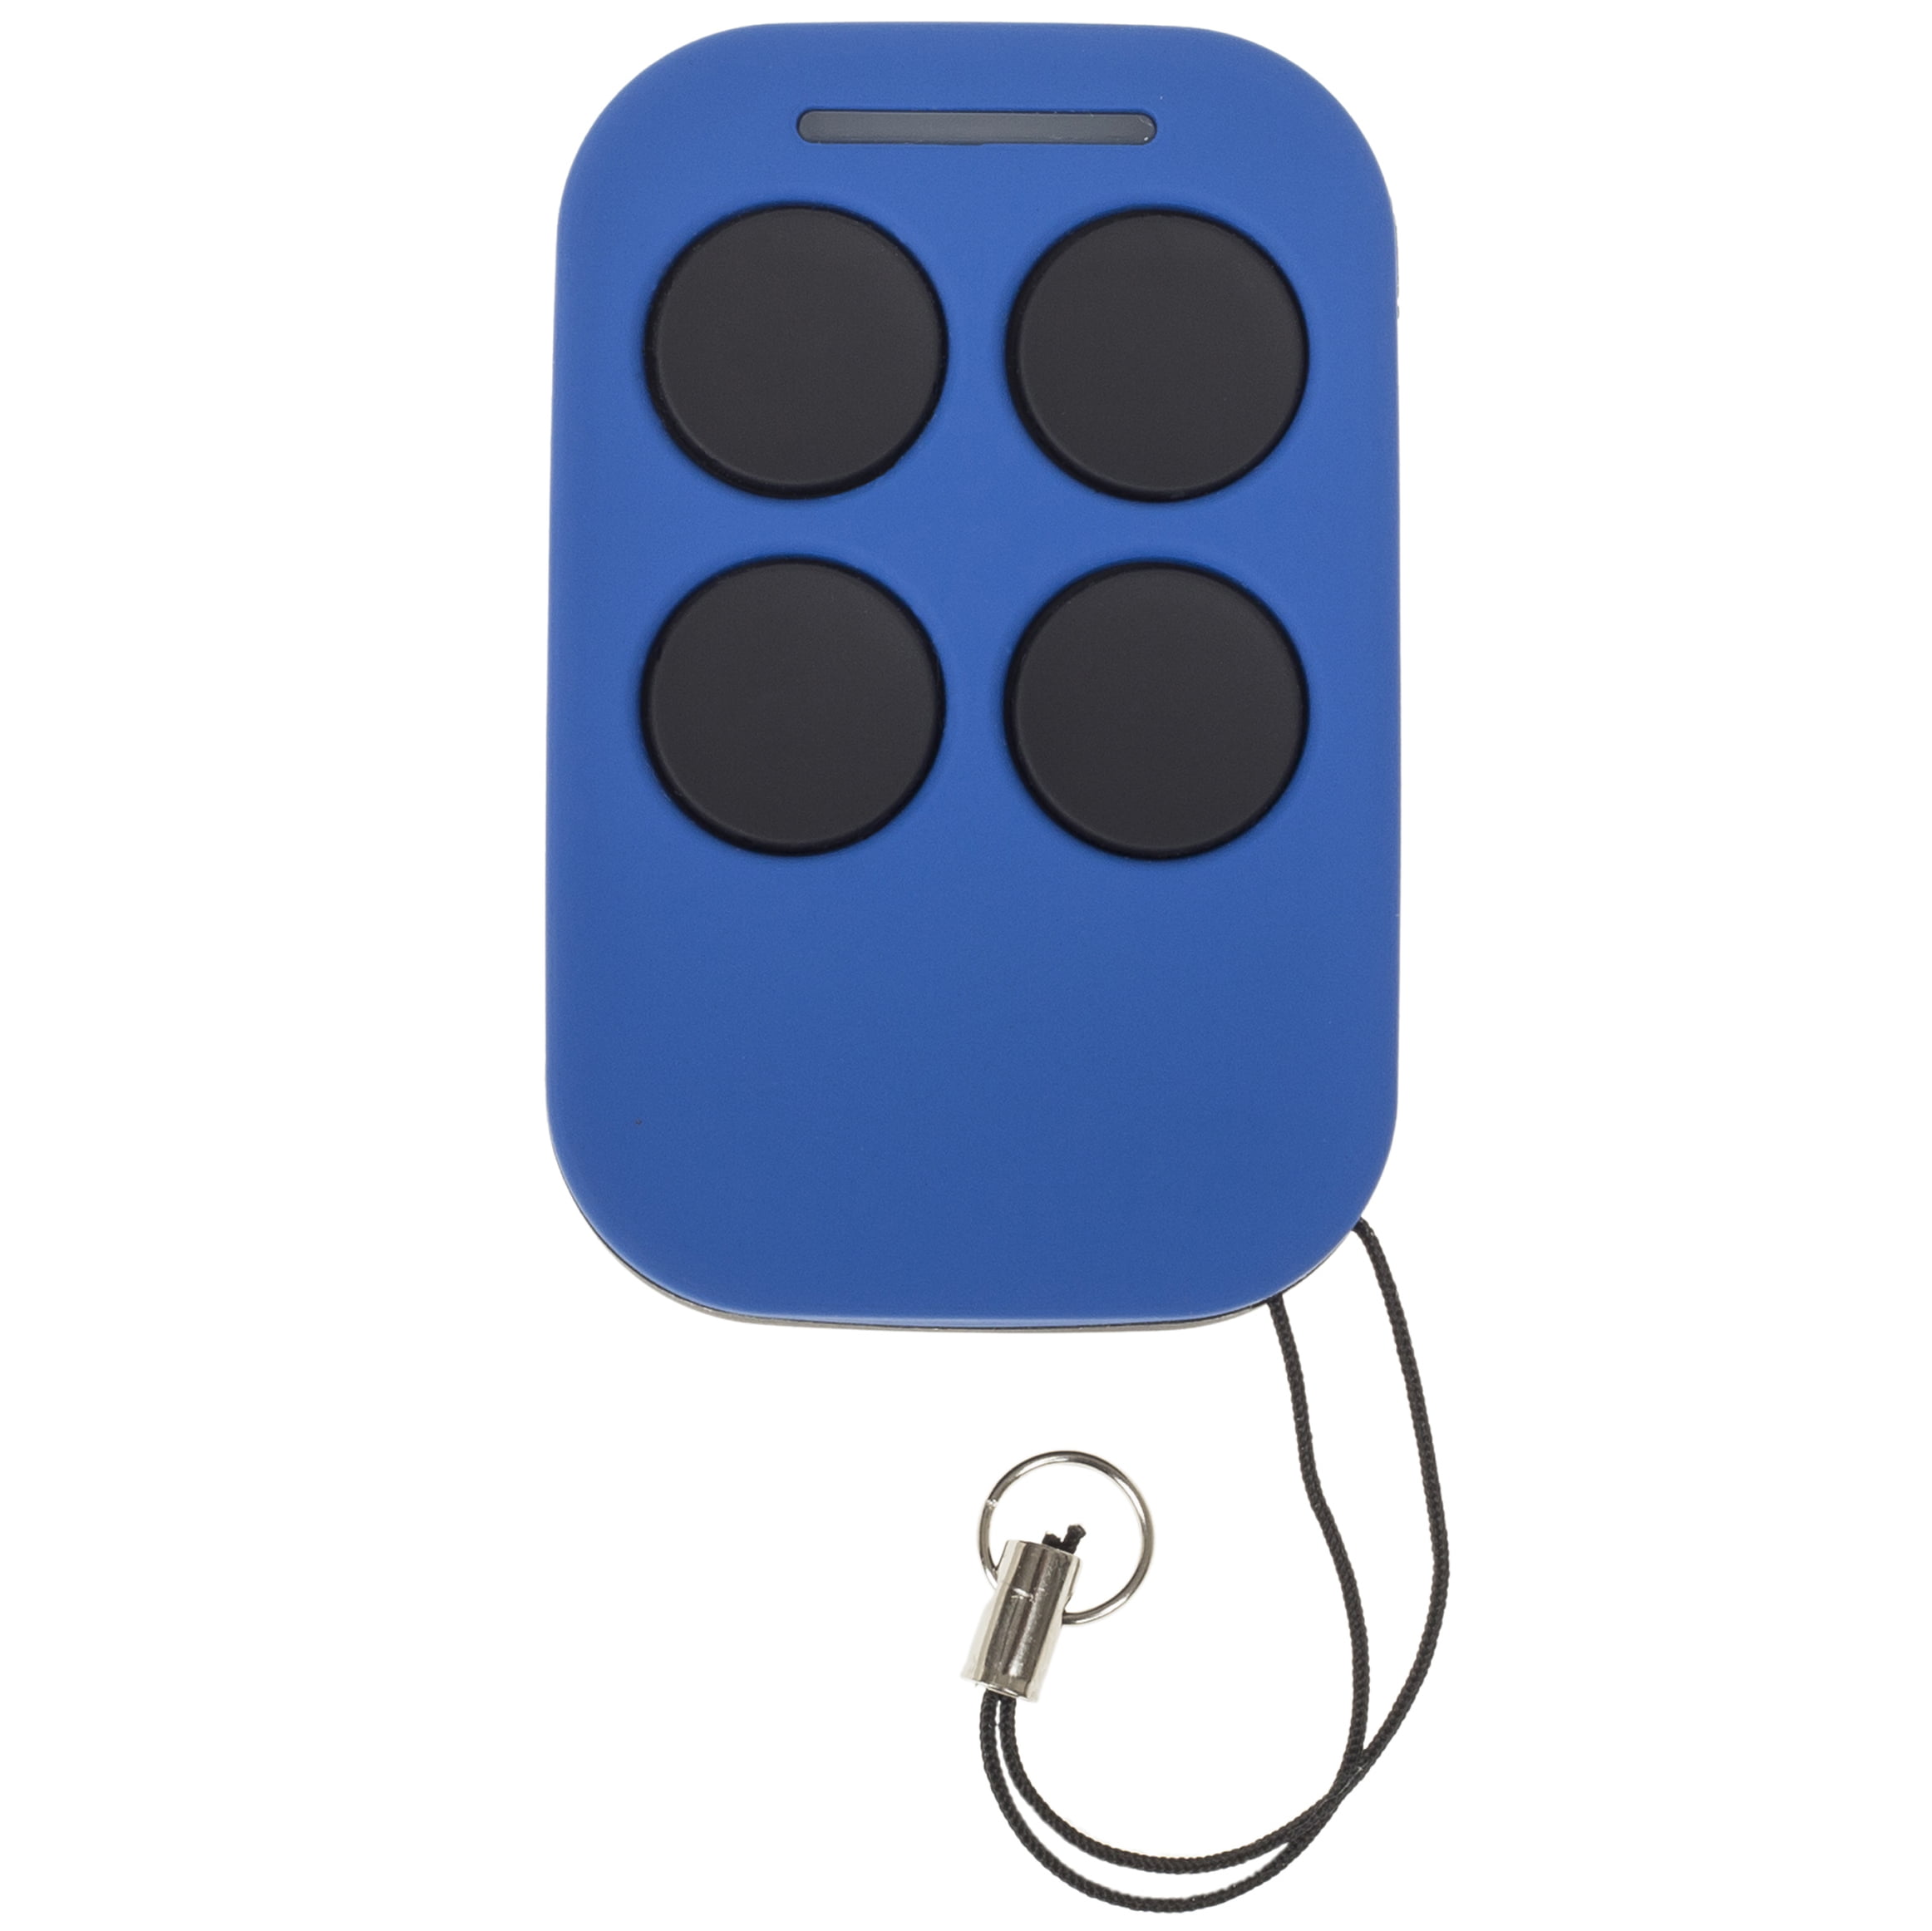
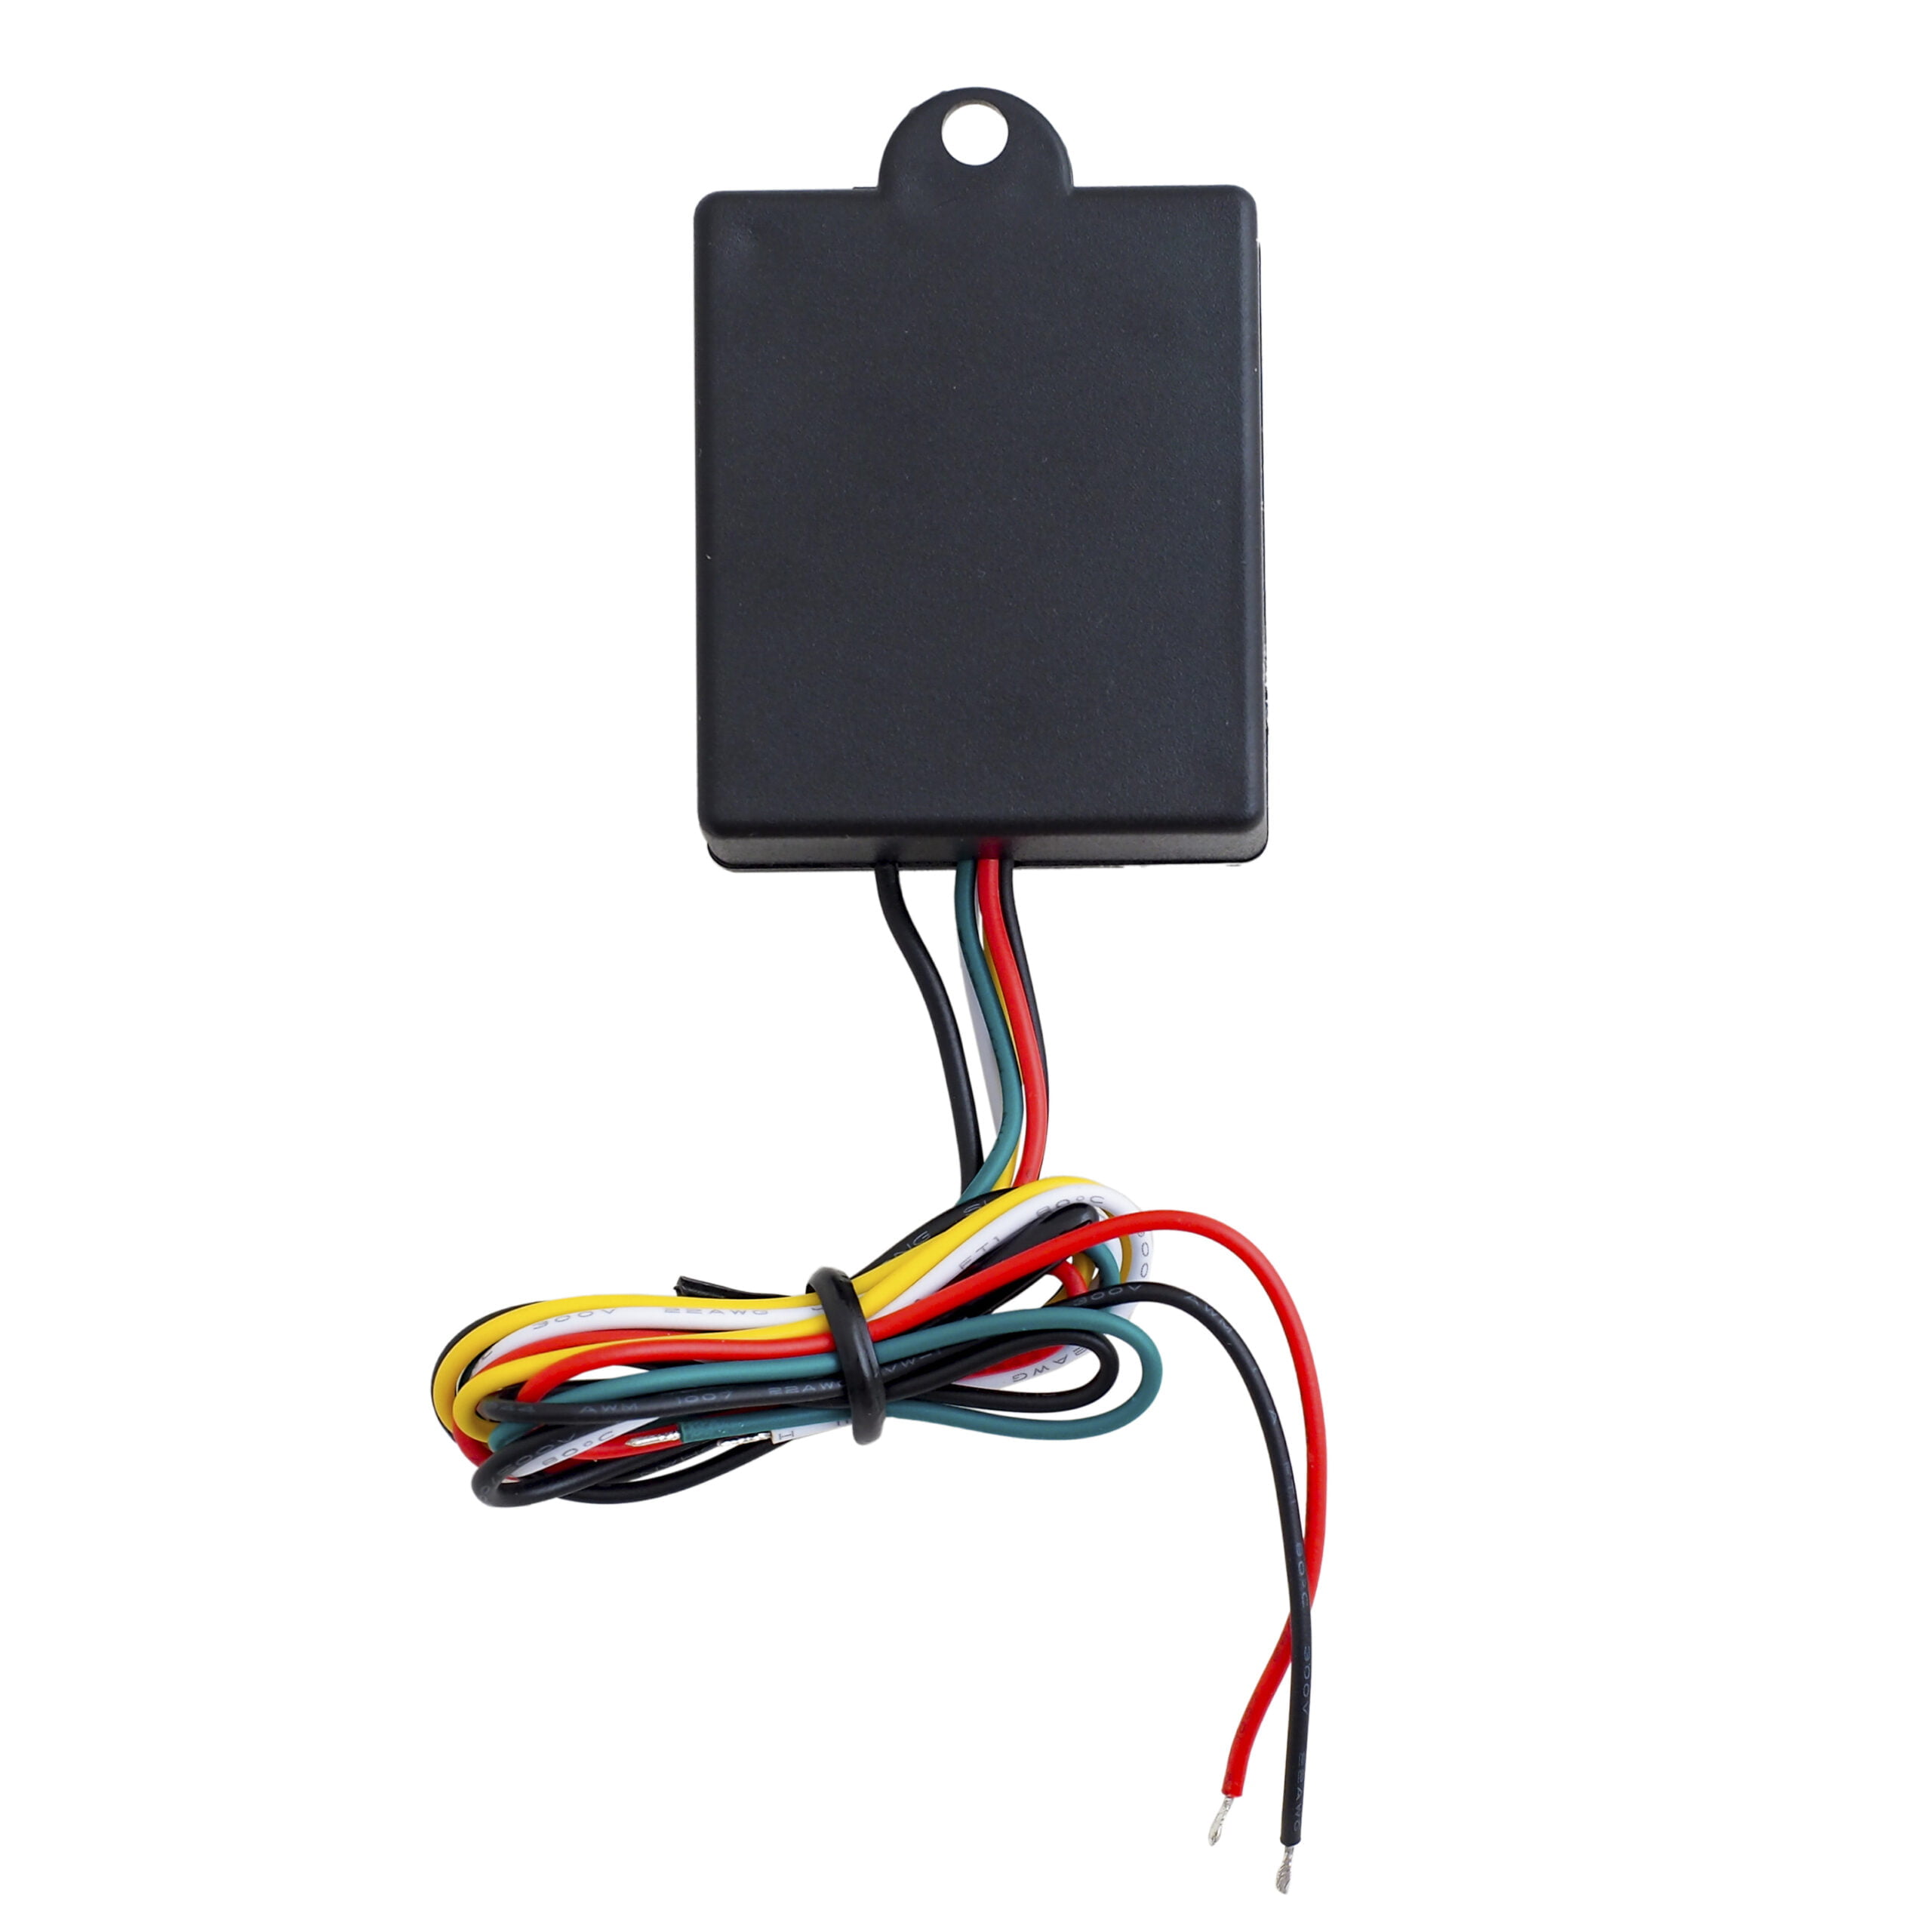
1x Auto Openers Pre-Wired Receiver
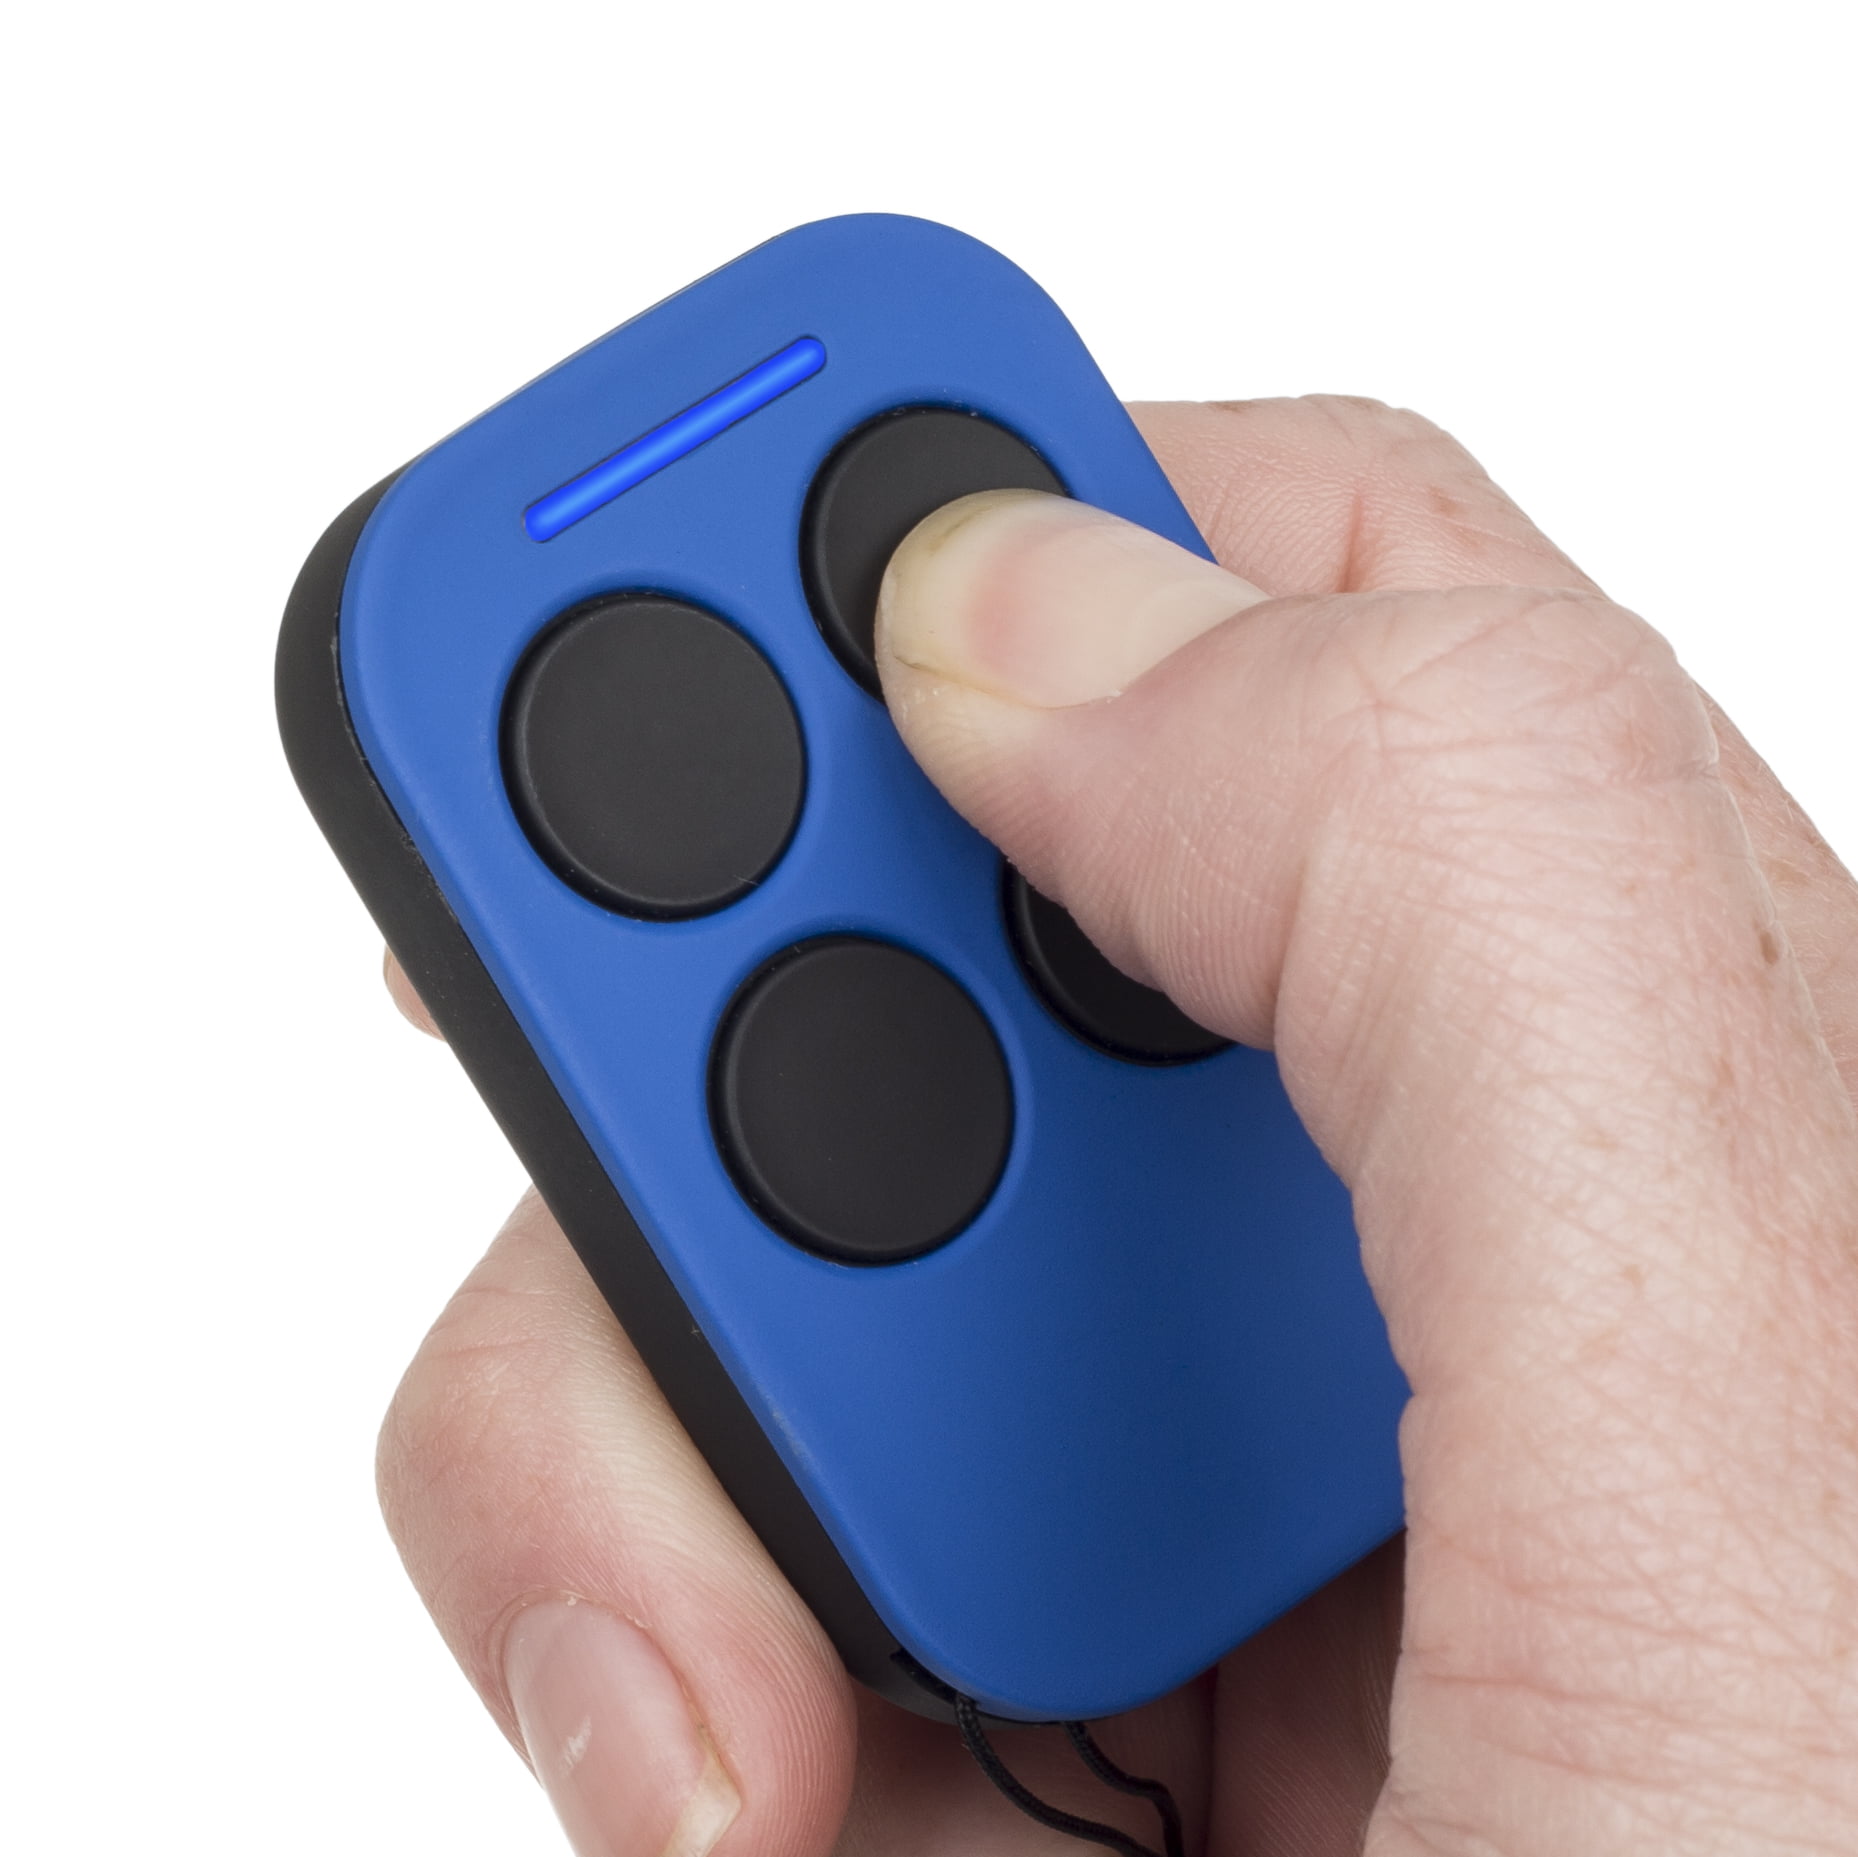
2x Auto Openers AOTX4 Remote Controls
Wiring Guide / Instructions in listing description
Out of stock
Instructions
Instructions are included with every order.
Click here for remote instructions.
Click here for opener manuals.
Shipping
We are based in Albury, NSW. Below are expected lead times. At checkout, you can also select express or next-day express shipping.
TAS - 4-7 Days
VIC - 3-5 Days
NSW - 3-5 Days
ACT - 3-5 Days
QLD - 6-8 Days
SA - 4-6 Days
NT - 7-12 Days
WA - 7-12 Days
Lead Times on Residential / Shed Doors
Current estimates are 2–4 weeks, depending on your location and the specific door model. For a more accurate timeframe, please contact our team.
Warnings & Disclaimers
For compliance, a button battery warning appears on all product pages. The battery type is noted in the description when relevant.
WARNING! This product may contain a button/coin cell battery. To prevent possible SERIOUS INJURY or DEATH:
Keep new and used batteries out of reach of children at all times.
Do not use the product if the battery compartment is damaged or doesn’t close securely.
Dispose of used batteries immediately and safely - even flat batteries can cause harm.
Do not ingest the battery. Chemical burn hazard.
Act fast if you suspect a battery has been swallowed or inserted - severe or fatal injuries can occur within 2 hours.
Seek immediate medical attention or call:
– Australia: Poisons Information Centre on 13 11 26
– New Zealand: National Poisons Centre on 0800 764 766
- Order before 1pm, we'll despatch it the same day
- Free shipping on every order
- 60 day return policy (including change of mind)
- Instructions included with your order

Free Delivery To Anywhere
We offer free shipping Australia wide on our entire range of products
Staffed By Installers & Professionals
We've been installing garages and gates since 1998. Our Australian support team is second to none.
60 Day Returns, 12 Month+ Warranty
All purchases include a 60 day return option, with a 12 month or more warranty!
Description
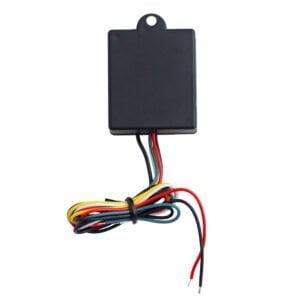
Glidermatic GTX2 Upgrade Receiver Specifications
| Receiver Dimensions | 5 x 4.3 x 2.5 (cm) |
| Receiver Weight | 59g |
| Manufacturer | Auto Openers |
| Model Number | AORX |
| Remote Encryption | SecuraCode |
| Receiver Connection to Motor | Pre-Wired |
| Warranty | 1 Year |
Glidermatic GTX2 Upgrade Receiver Compatibility
Unfortunately, the older Glidermatic remote controls are no longer in production. However, this doesn’t mean you need to replace the motor just yet! If your garage door opener is still working, the Auto Openers Pre-Wired Receiver will allow you to use a new type of remote on the motor. It won’t affect the existing remote controls and simply allows the motor to use the new remotes.
This DIY kit is simple to DIY and easy to install. This kit includes two Auto Openers AOTX4 remote controls. You can also use any of the below garage remote controls.
- PTX-4 Keyring Remote Control
- Auto Openers AOTX4 Keyring Remote
- EAT-1 Easy Access Transmitter
- KPX-5 Pin Code Keypad
Glidermatic GTX2 Upgrade Receiver Features
The Auto Openers receiver allows you to upgrade an older garage door or gate opener to work with a new series of remote controls. A garage door receiver wires into your garage door motor, the pre-wired attachments on the receiver. The receiver then listens for your remote control and when the button is pressed, opens your garage door. This does not affect the existing remote controls at all.
This is a fantastic way to upgrade your remote controls without having to buy a new garage door opener.
- Compact design suitable for mounting inside of gate motor control boxes or next to garage door motors
- SecuraCode technology eliminates the possibility of interference with your remote control
- Narrow-band transmission on 433.92MHz
- The AORX Pre-Wired Receiver has 2 channels with capacity and operation of two different electric drive motors
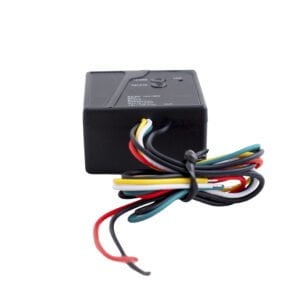
Glidermatic GTX2 Upgrade Receiver Wiring Guide
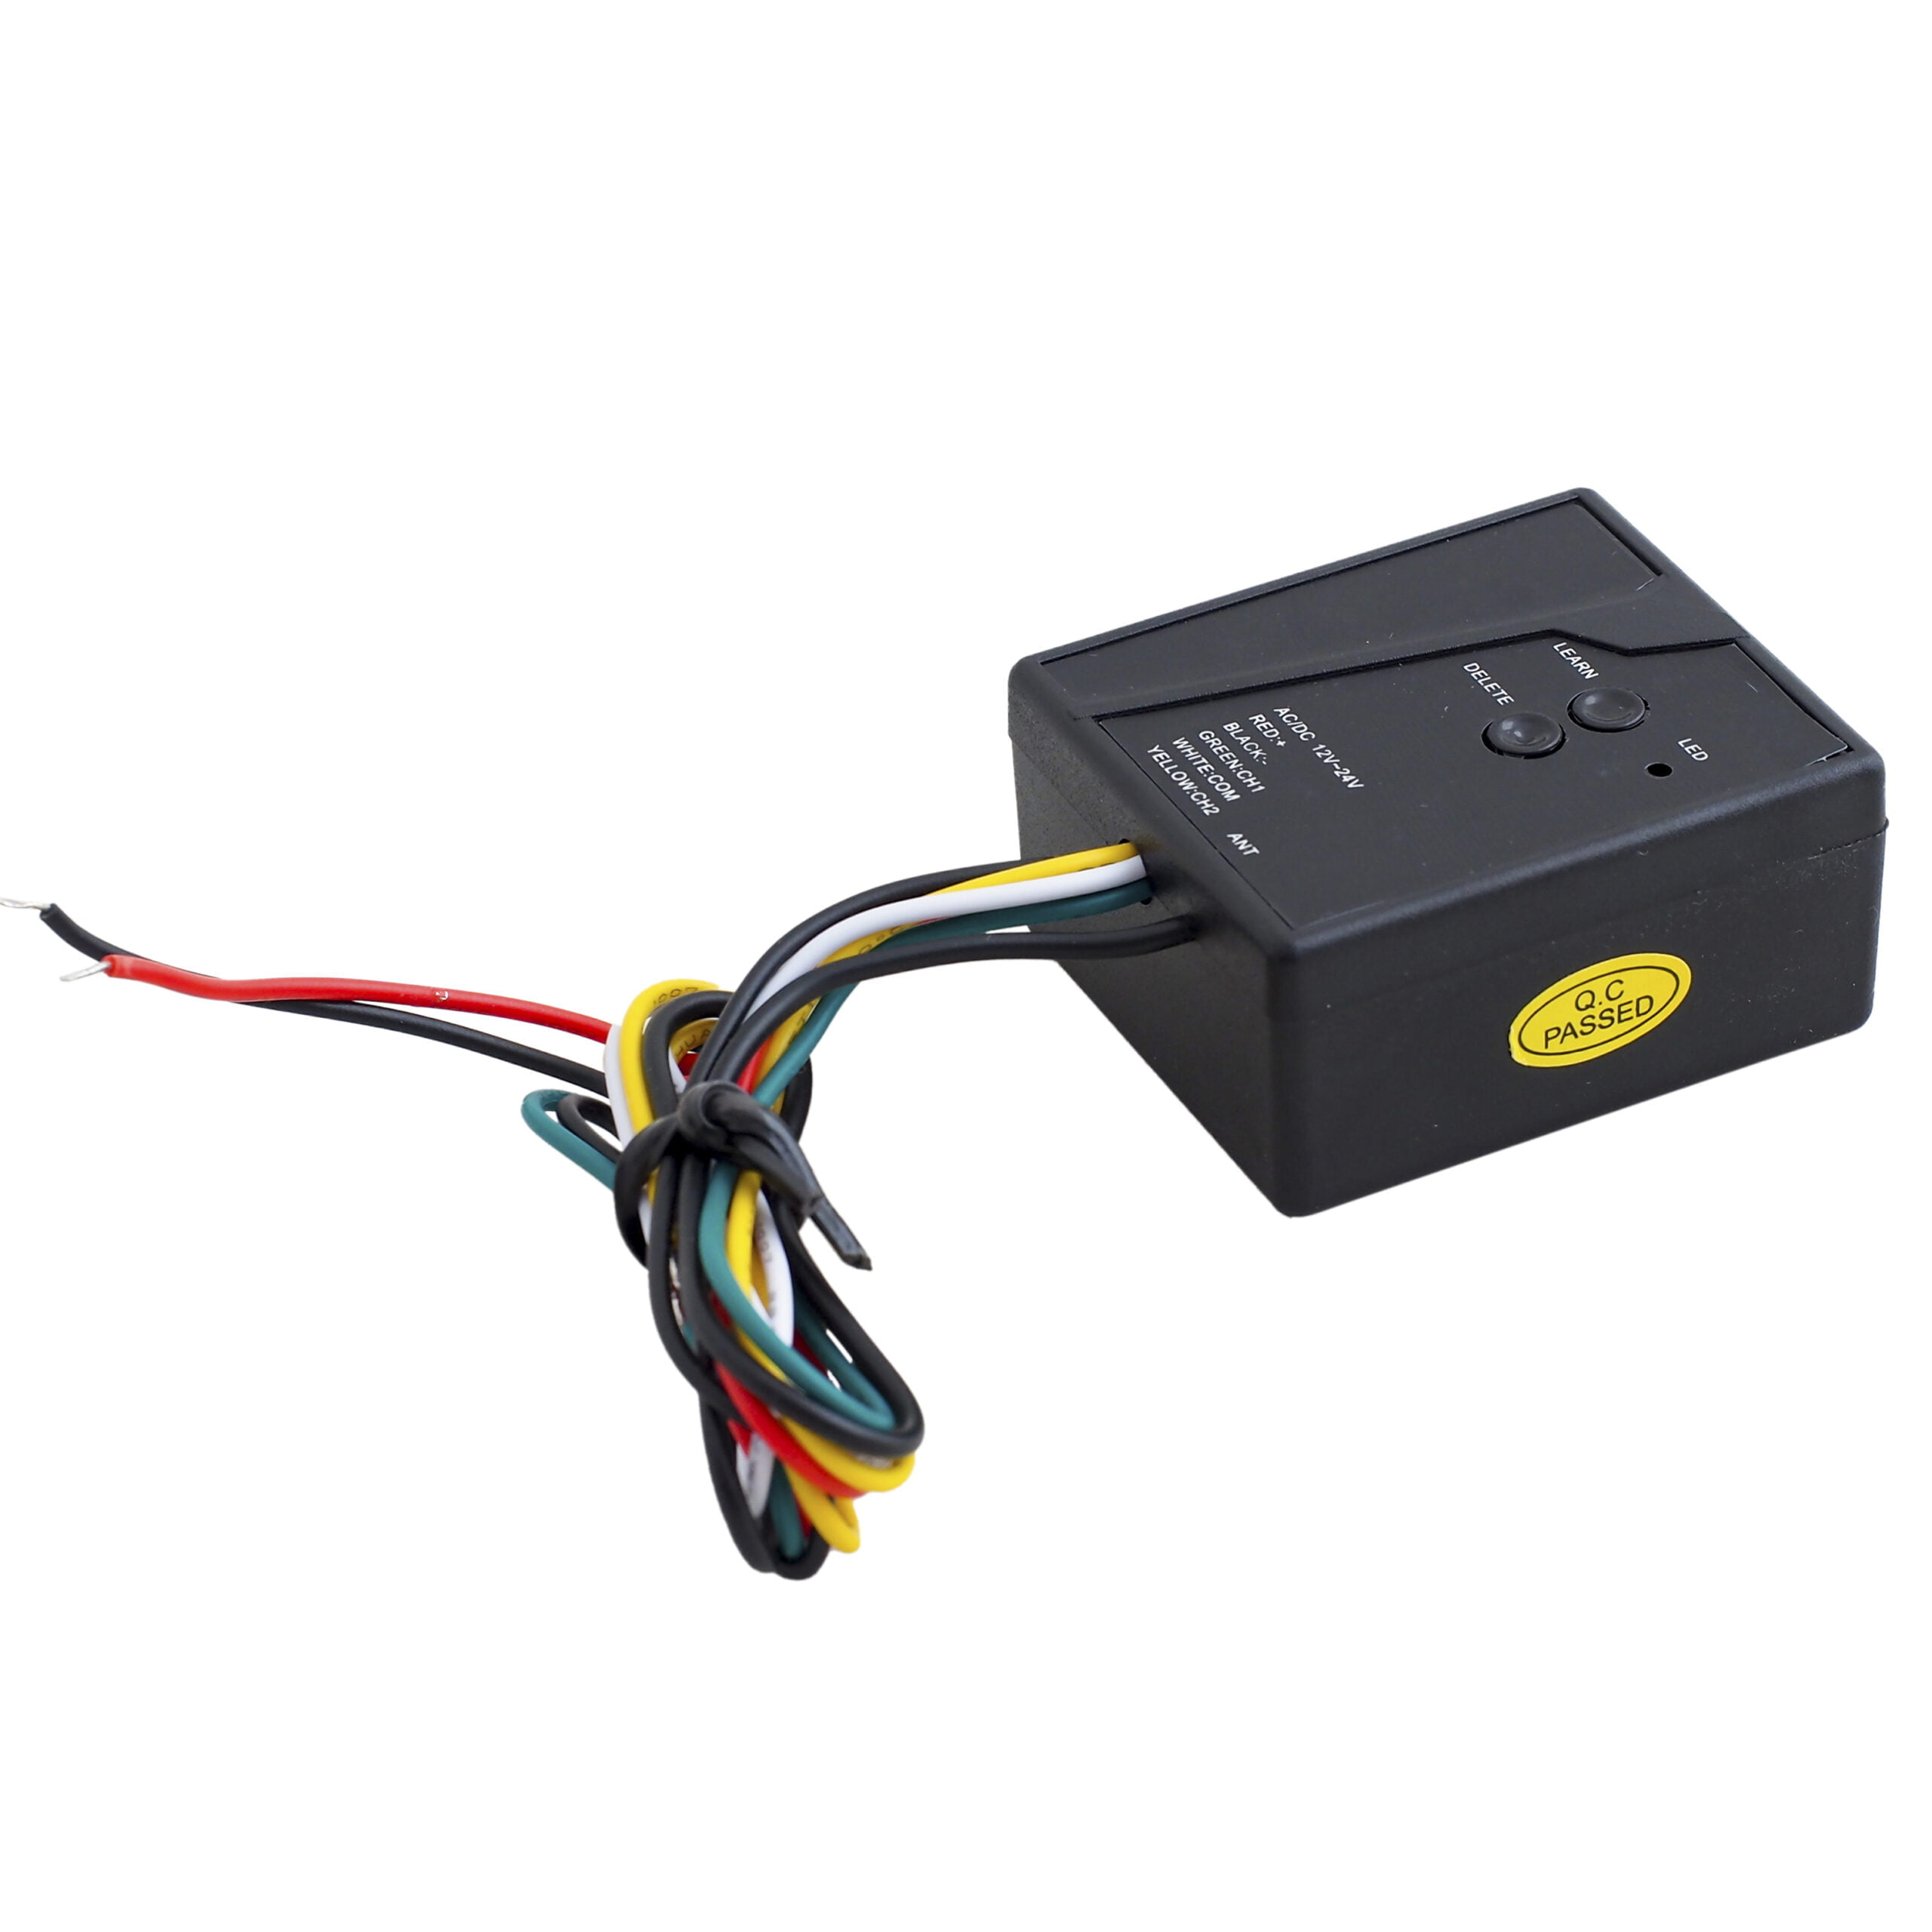
The Auto Openers receiver has clear labelling and coloured wires to make your job of wiring in this receiver as easy as possible. Below is a wiring guide that will help you get your new receiver wired safely into the Glidermatic GTX2.
1. For your safety, turn off the power to your motor, and remove the power plug from the wall.
2. Unscrew and remove the cover from the motor’s wall control box.
3. If your control box is black or grey, please follow the steps as instructed below. If it is cream coloured, the black cable must be plugged into RPB2 and the green cable to RPB1.
4. Unplug the white power cable coming from the transformer, where it matches onto the ‘AC’ port on the circuit board. Connect the white power cable you just removed from the control board to the red cable of the receiver. Once the cables are connected together, plug in the red cable onto the motors control board where the white cable was originally.
5. Plug in the blue and white cables of the receiver to RPB1 on the motors control panel. This is found on the bottom left hand side of your control board..
6. Plug in the green cable of the receiver to RPB2 on the motors control panel.
7. Ensure all cables are secured and are not loose. Plug back in the power to the motor and switch it on.
8. Please program in your remote controls using the receiver programming guide.
Additional information
| Brand | Automatic Technology Australia |
|---|
Reviews (0)
Be the first to review “Glidermatic GTX2 upgrade receiver remote kit”

Need Help Finding Your Product?
Send us a photo! We'll be able to tell you what you need and send you a link to purchase.


Reviews
There are no reviews yet.