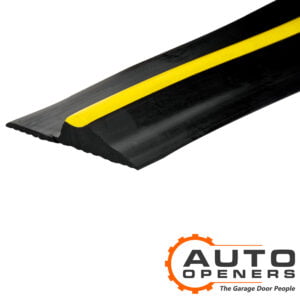
Garage Door Weather Stop Specifications
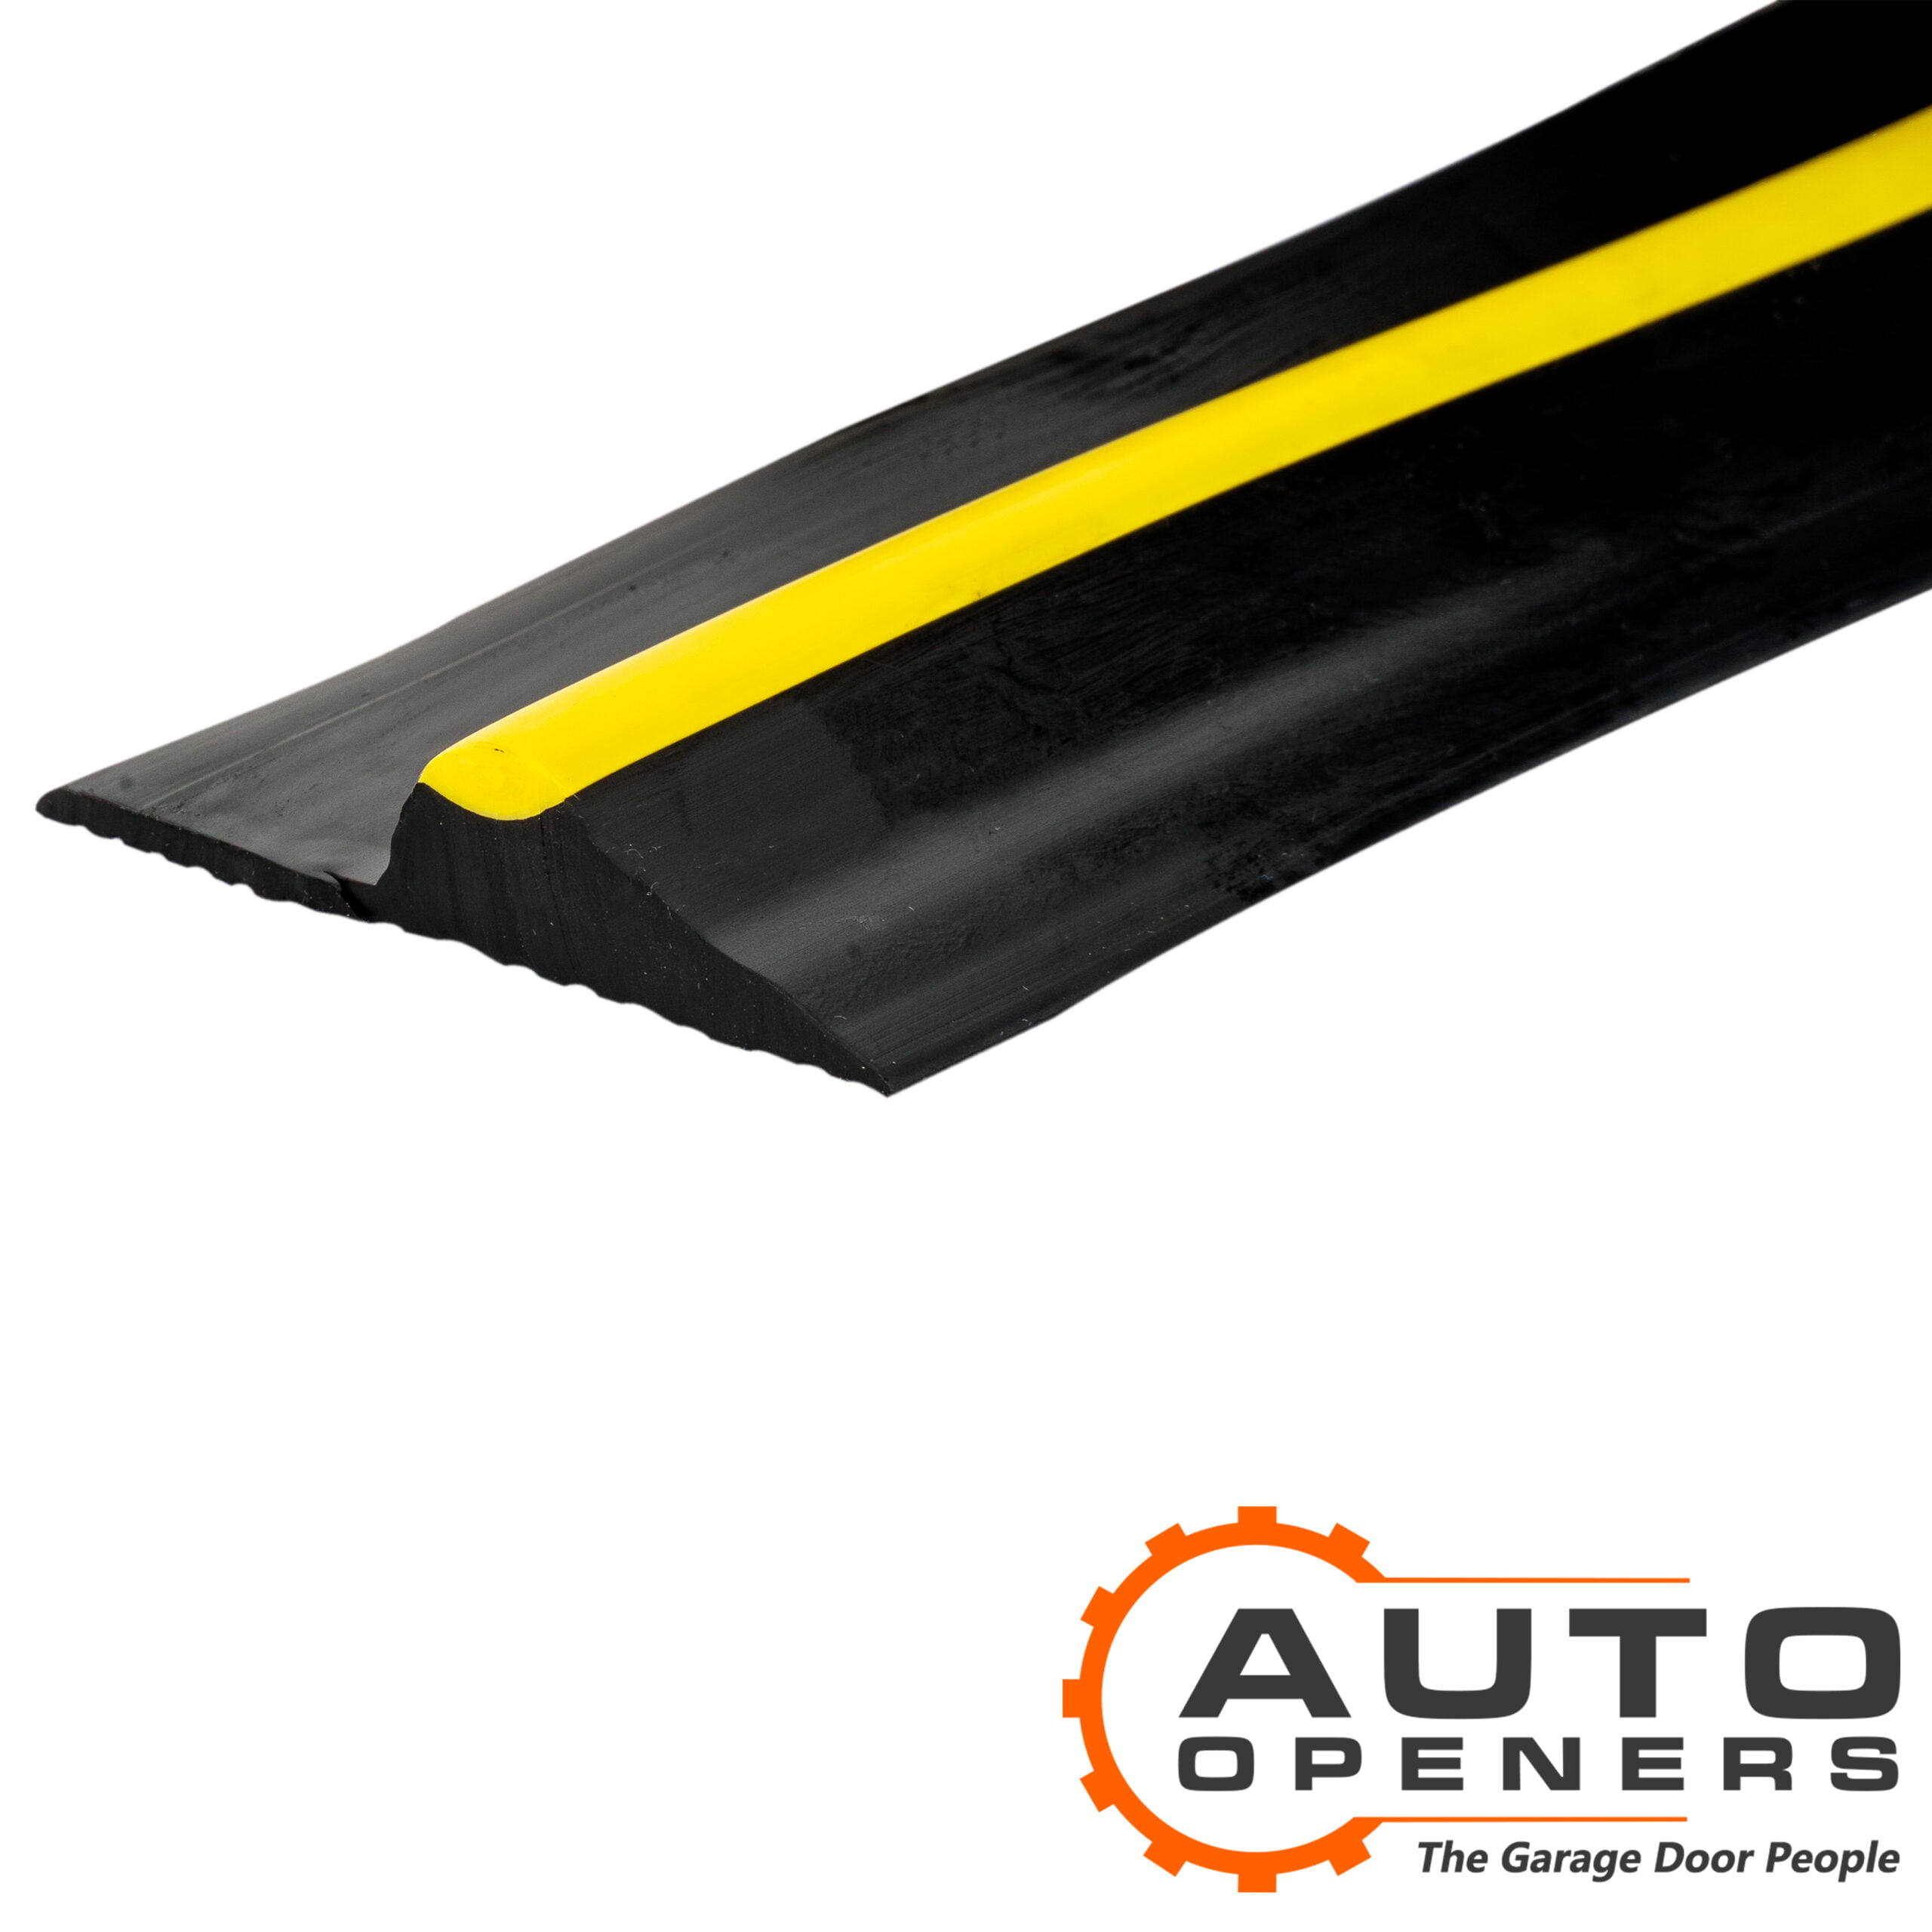
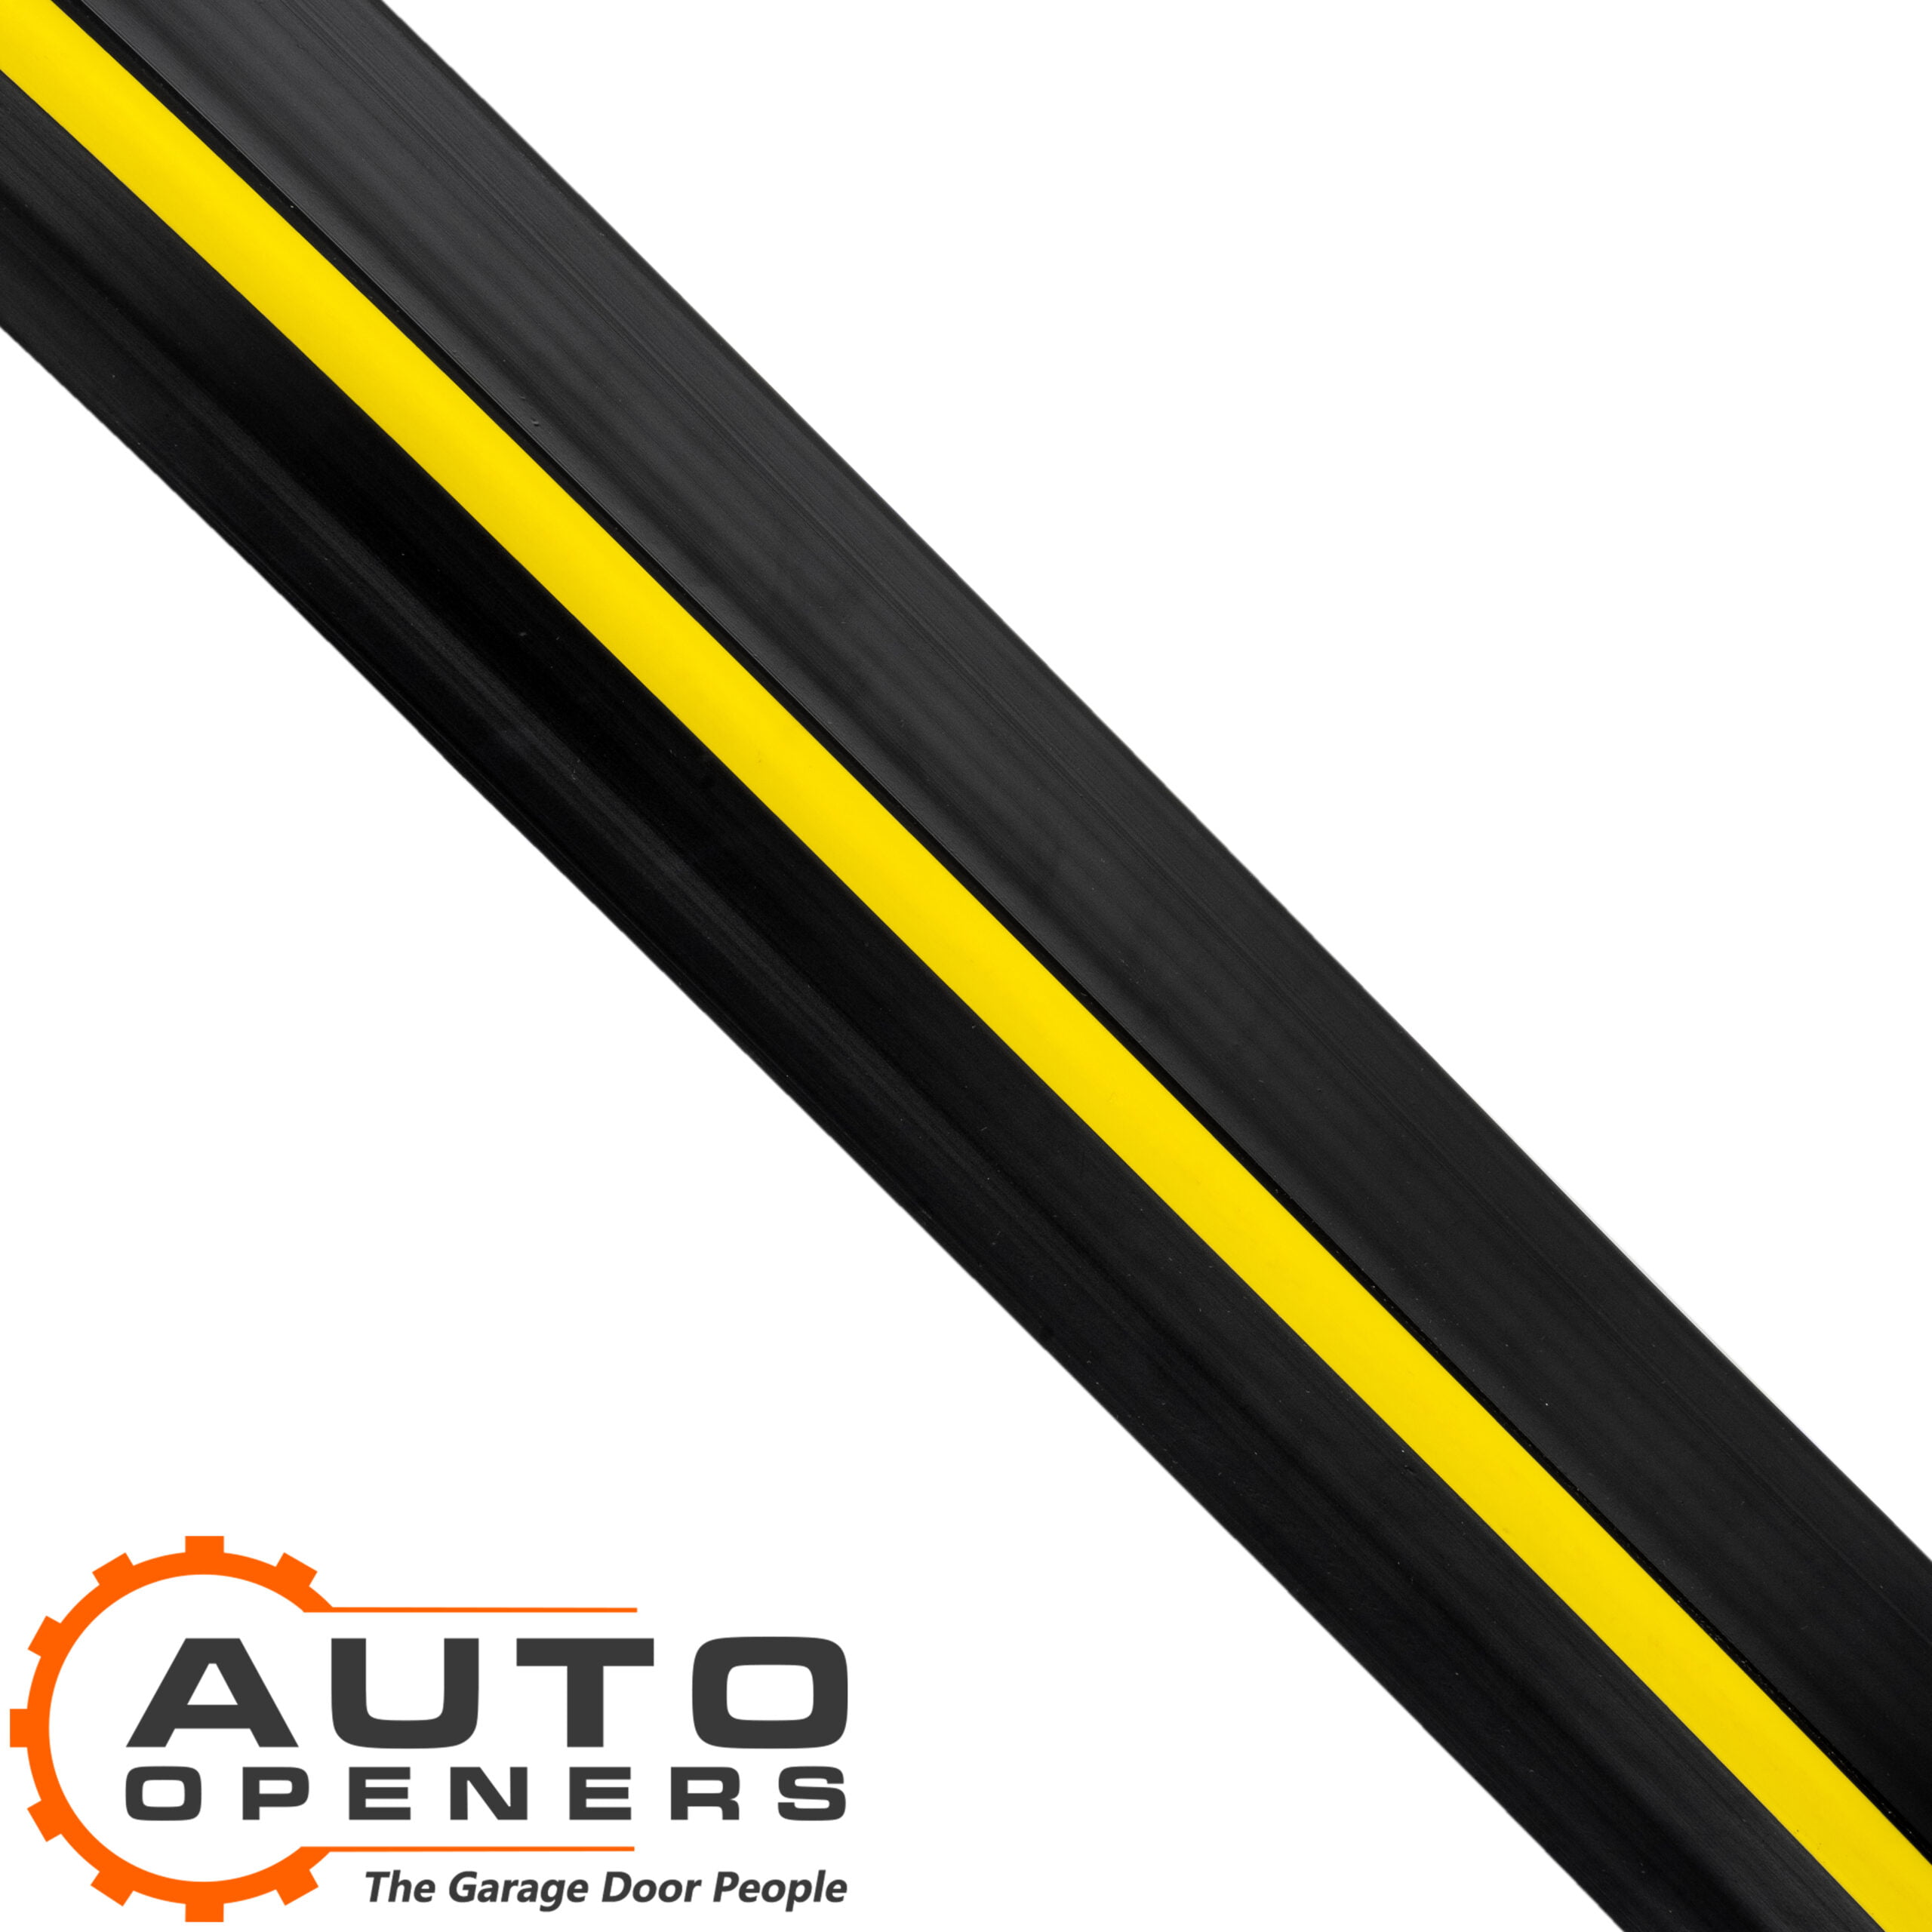
| Seal Width |
85mm Wide |
| Seal Height |
18mm |
| Manufacturer |
Auto Openers |
| Suitable Brands |
Suits all brands of doors |
Garage Door Weather Stop Benefits
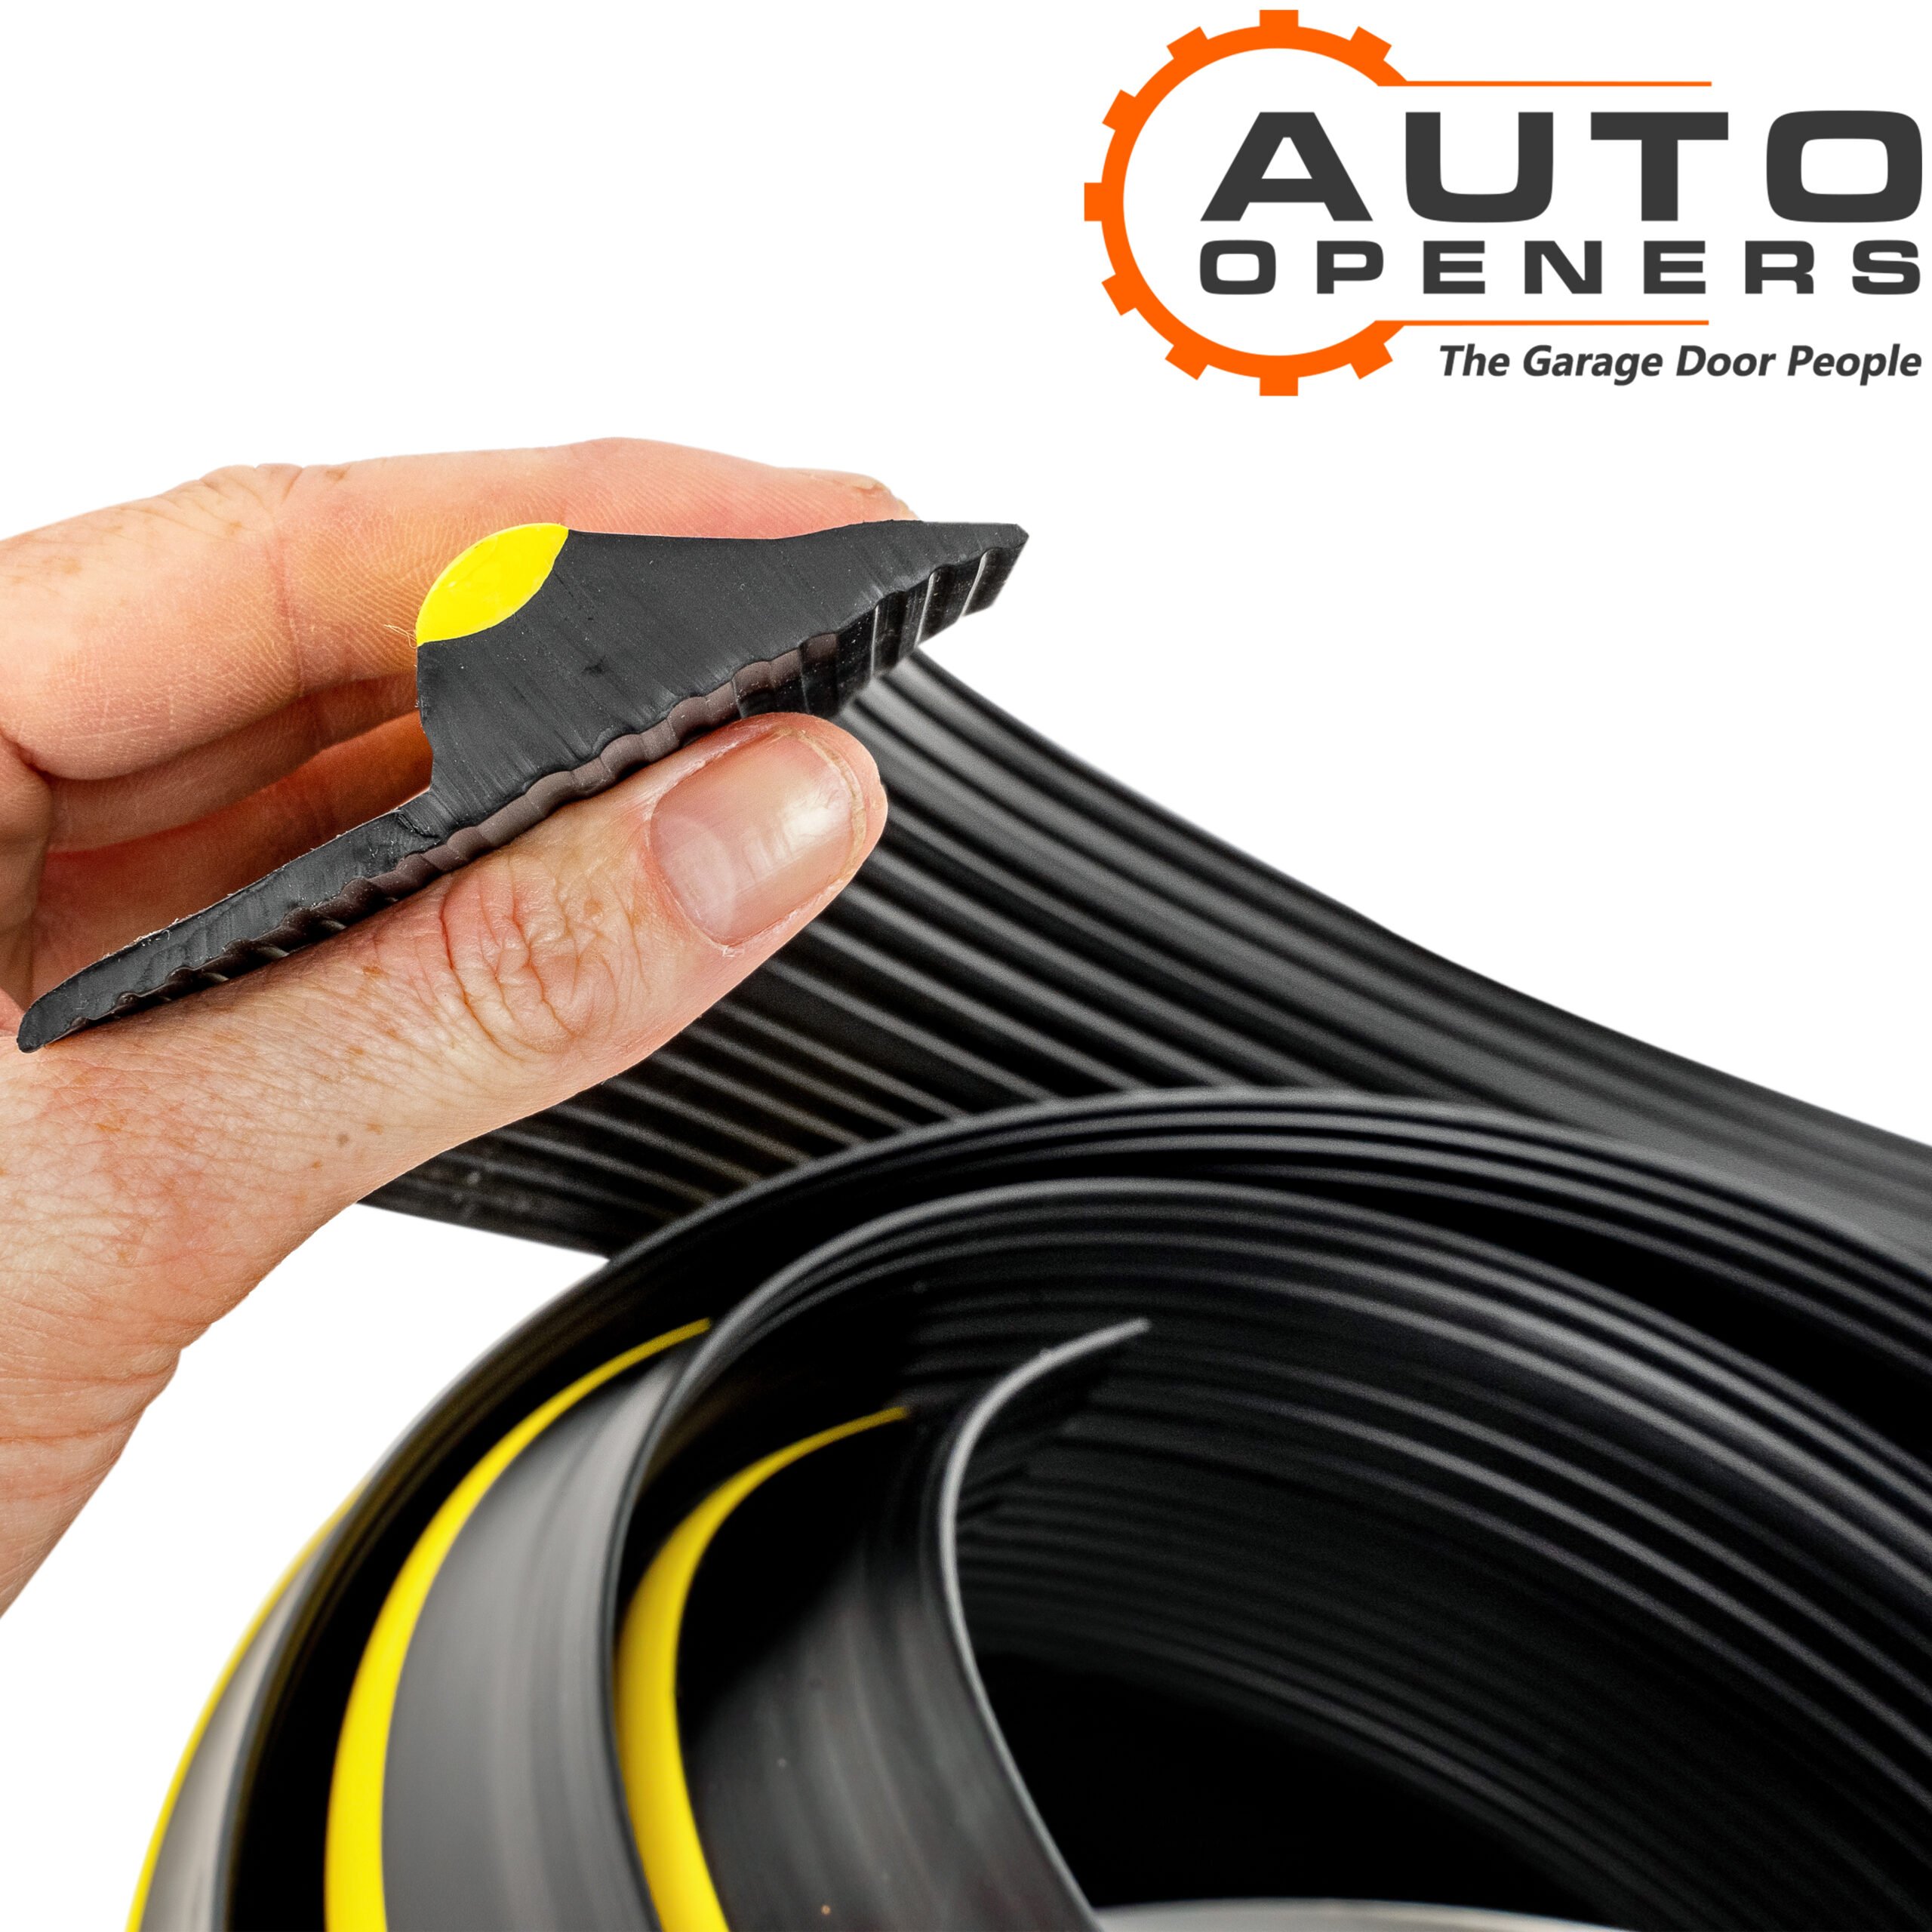
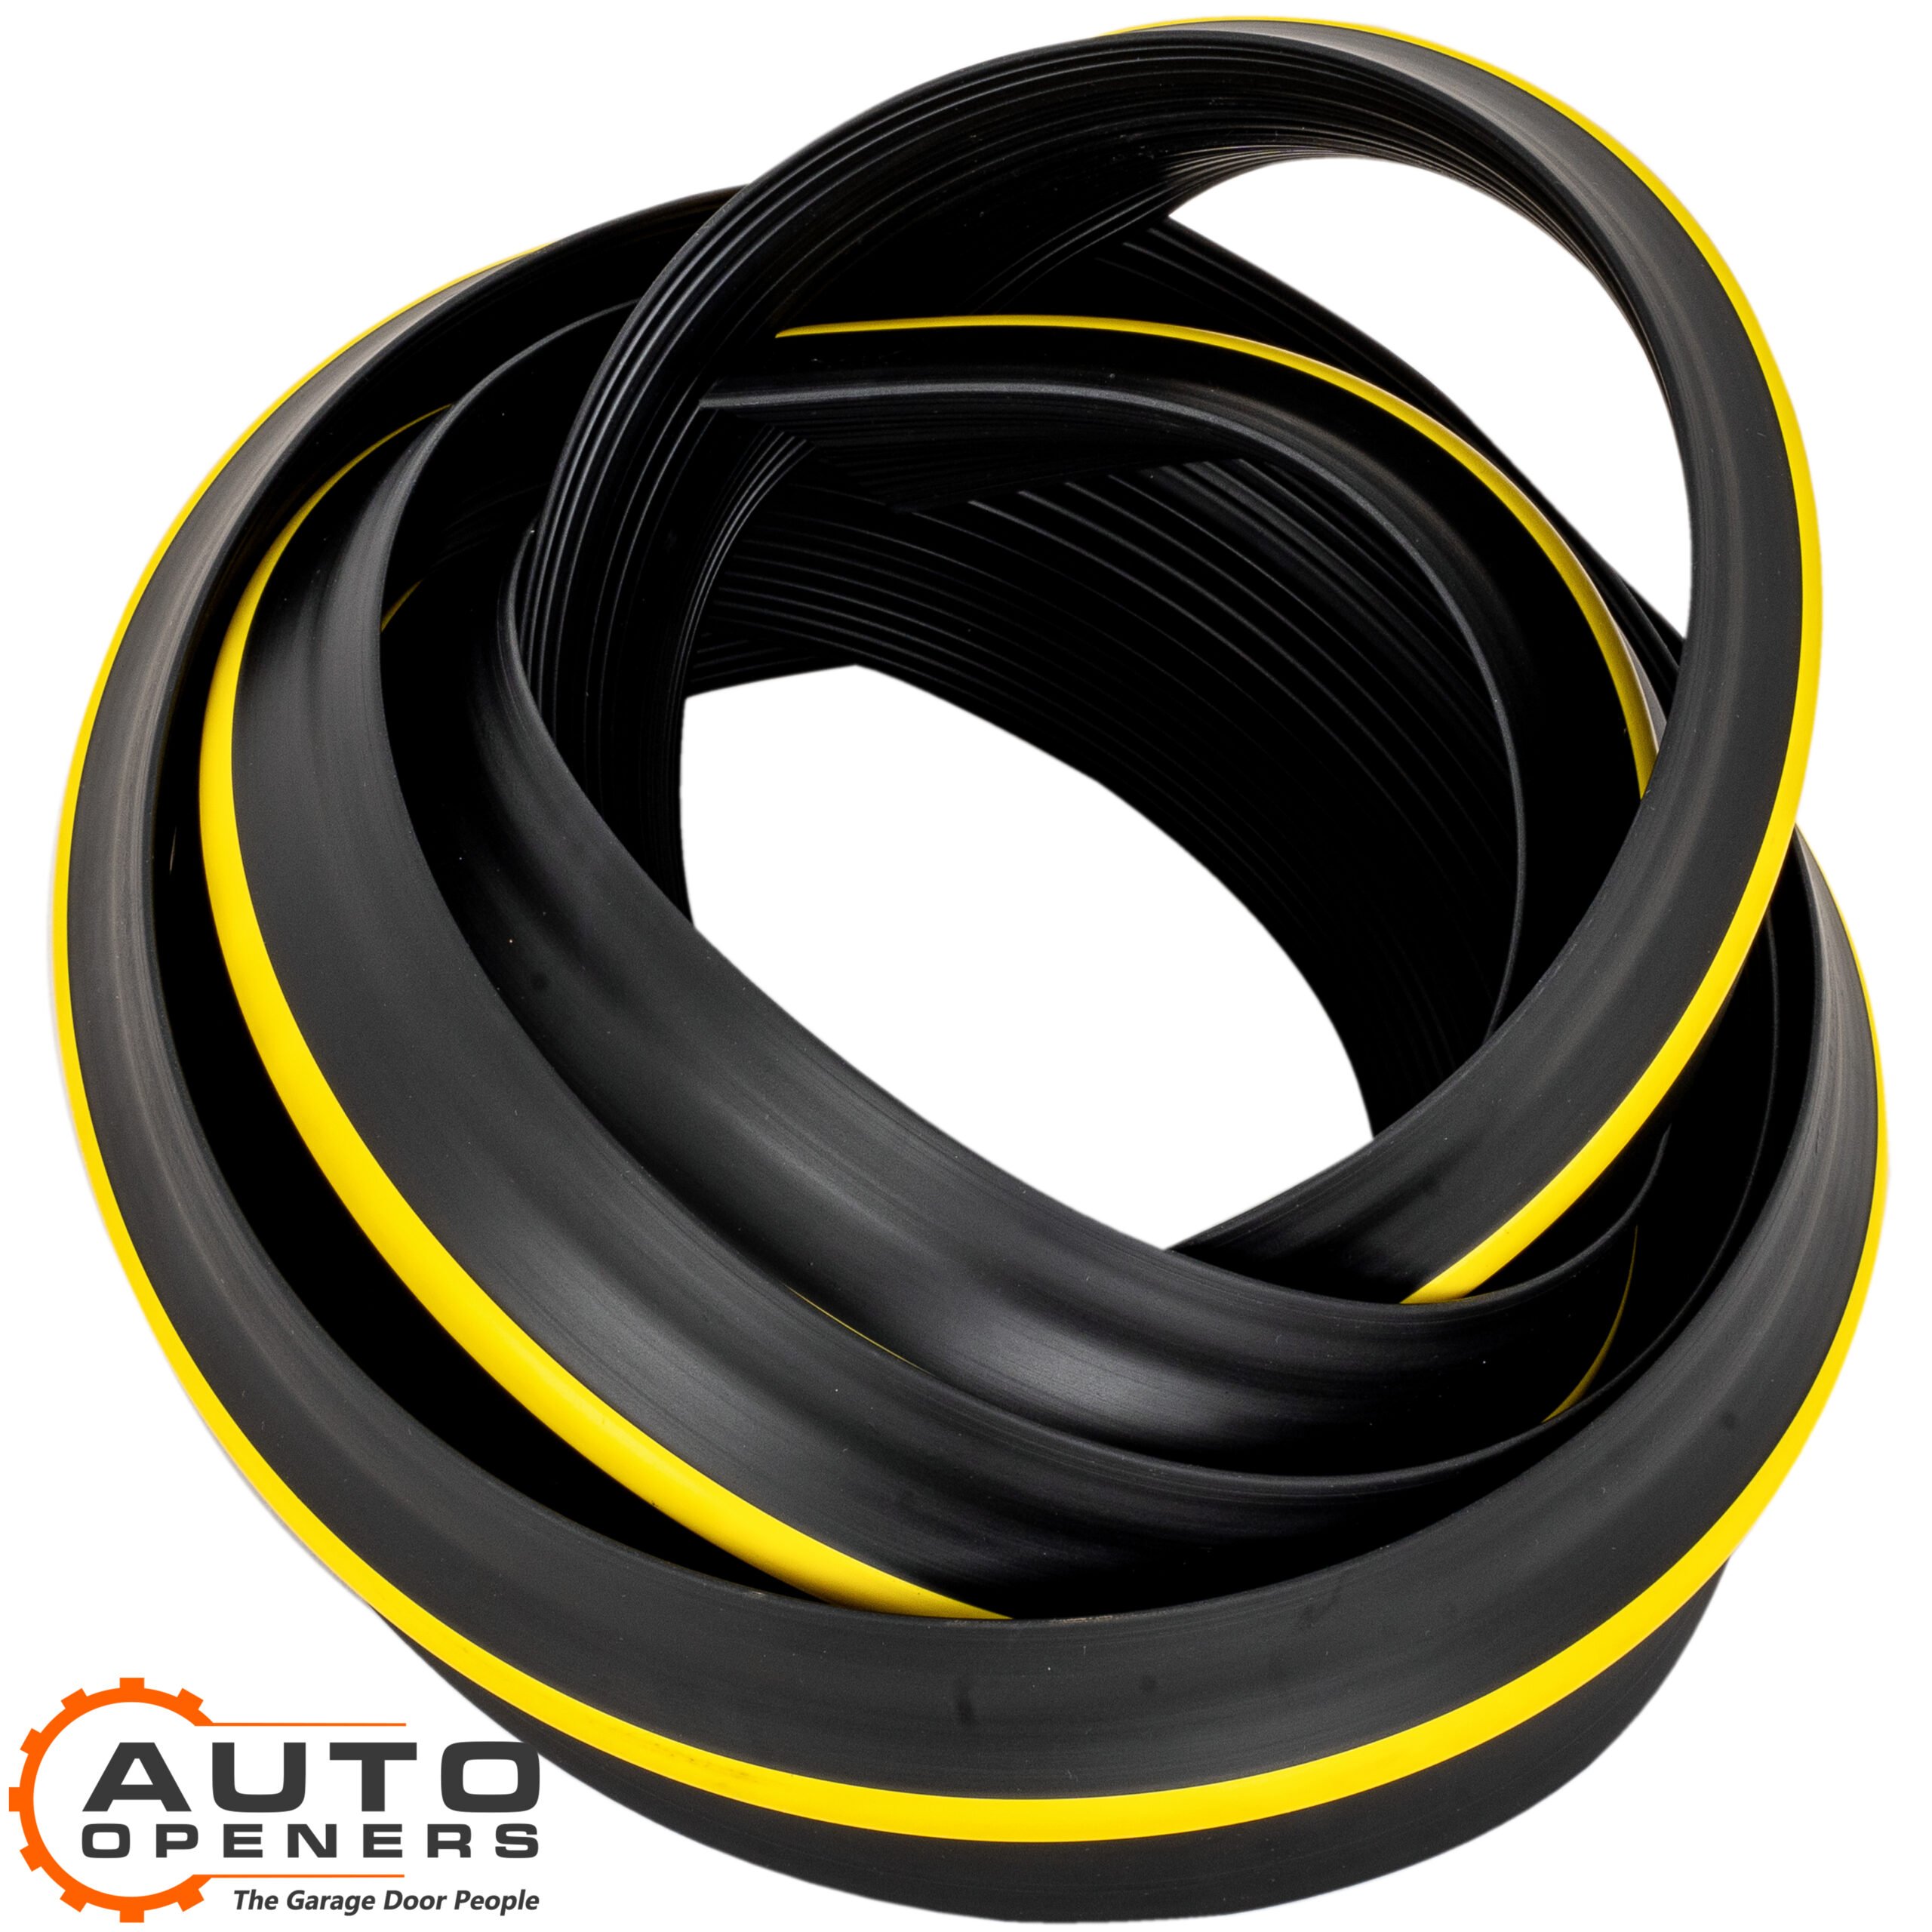
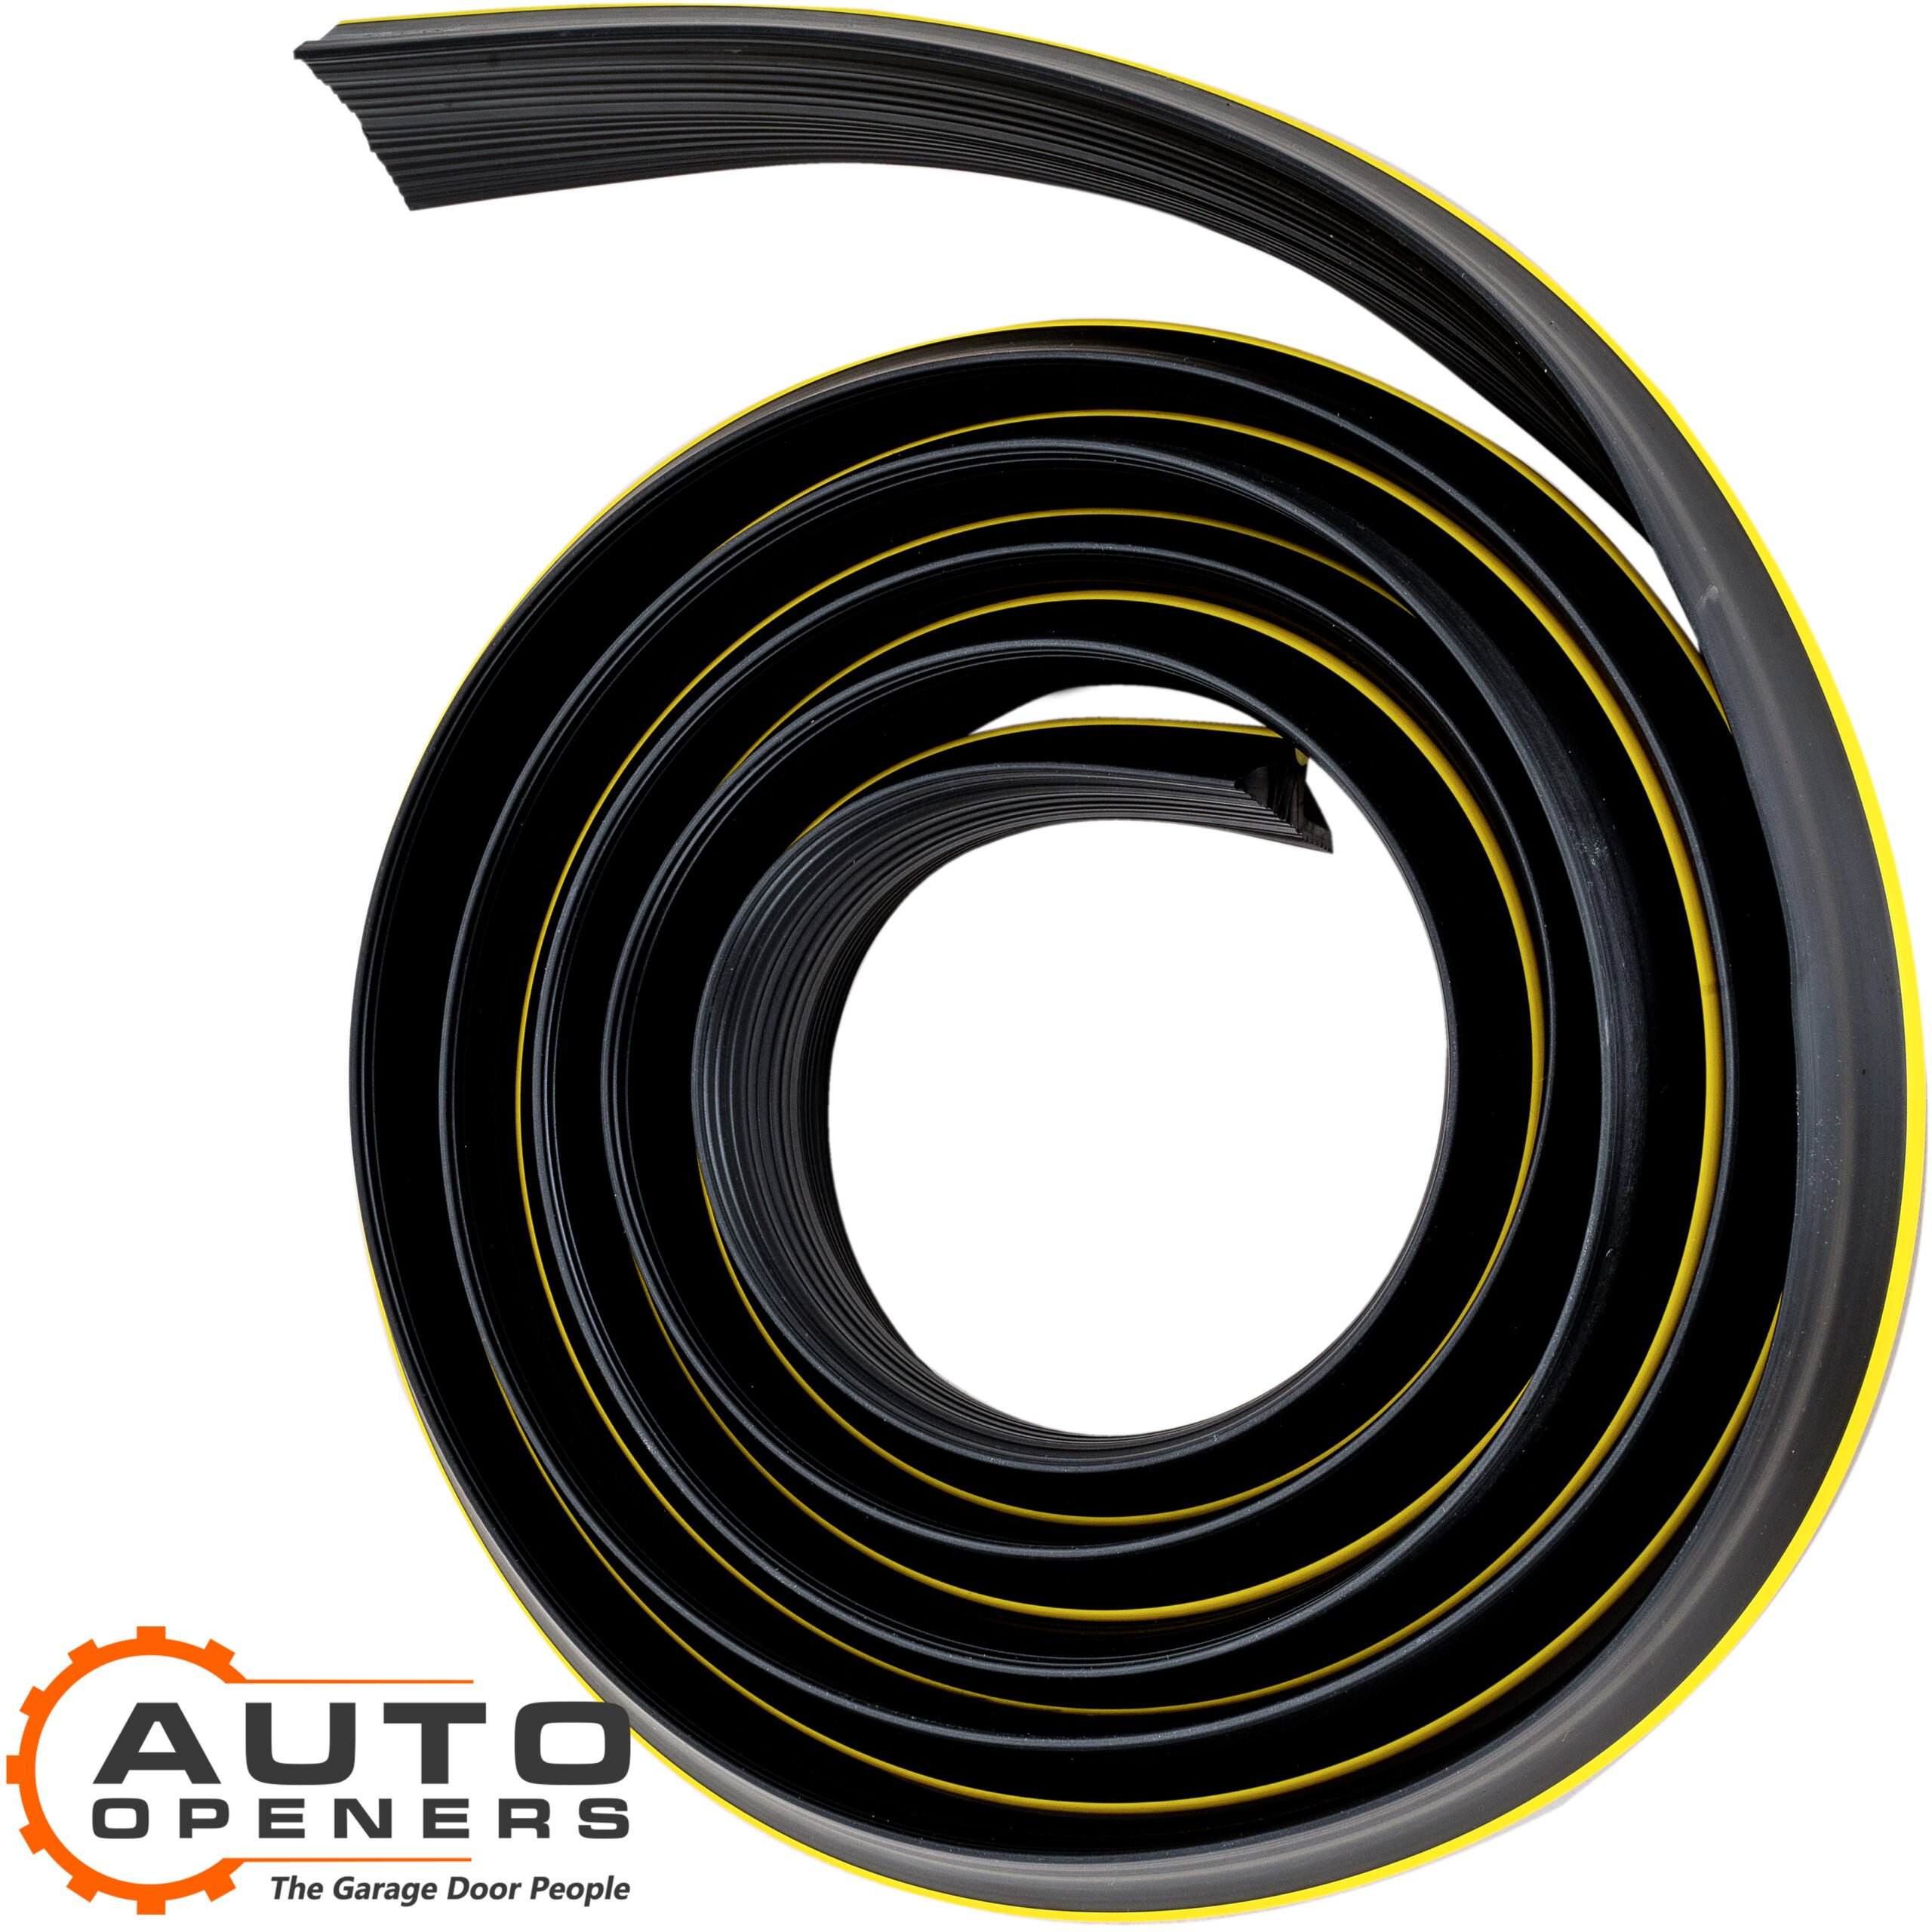
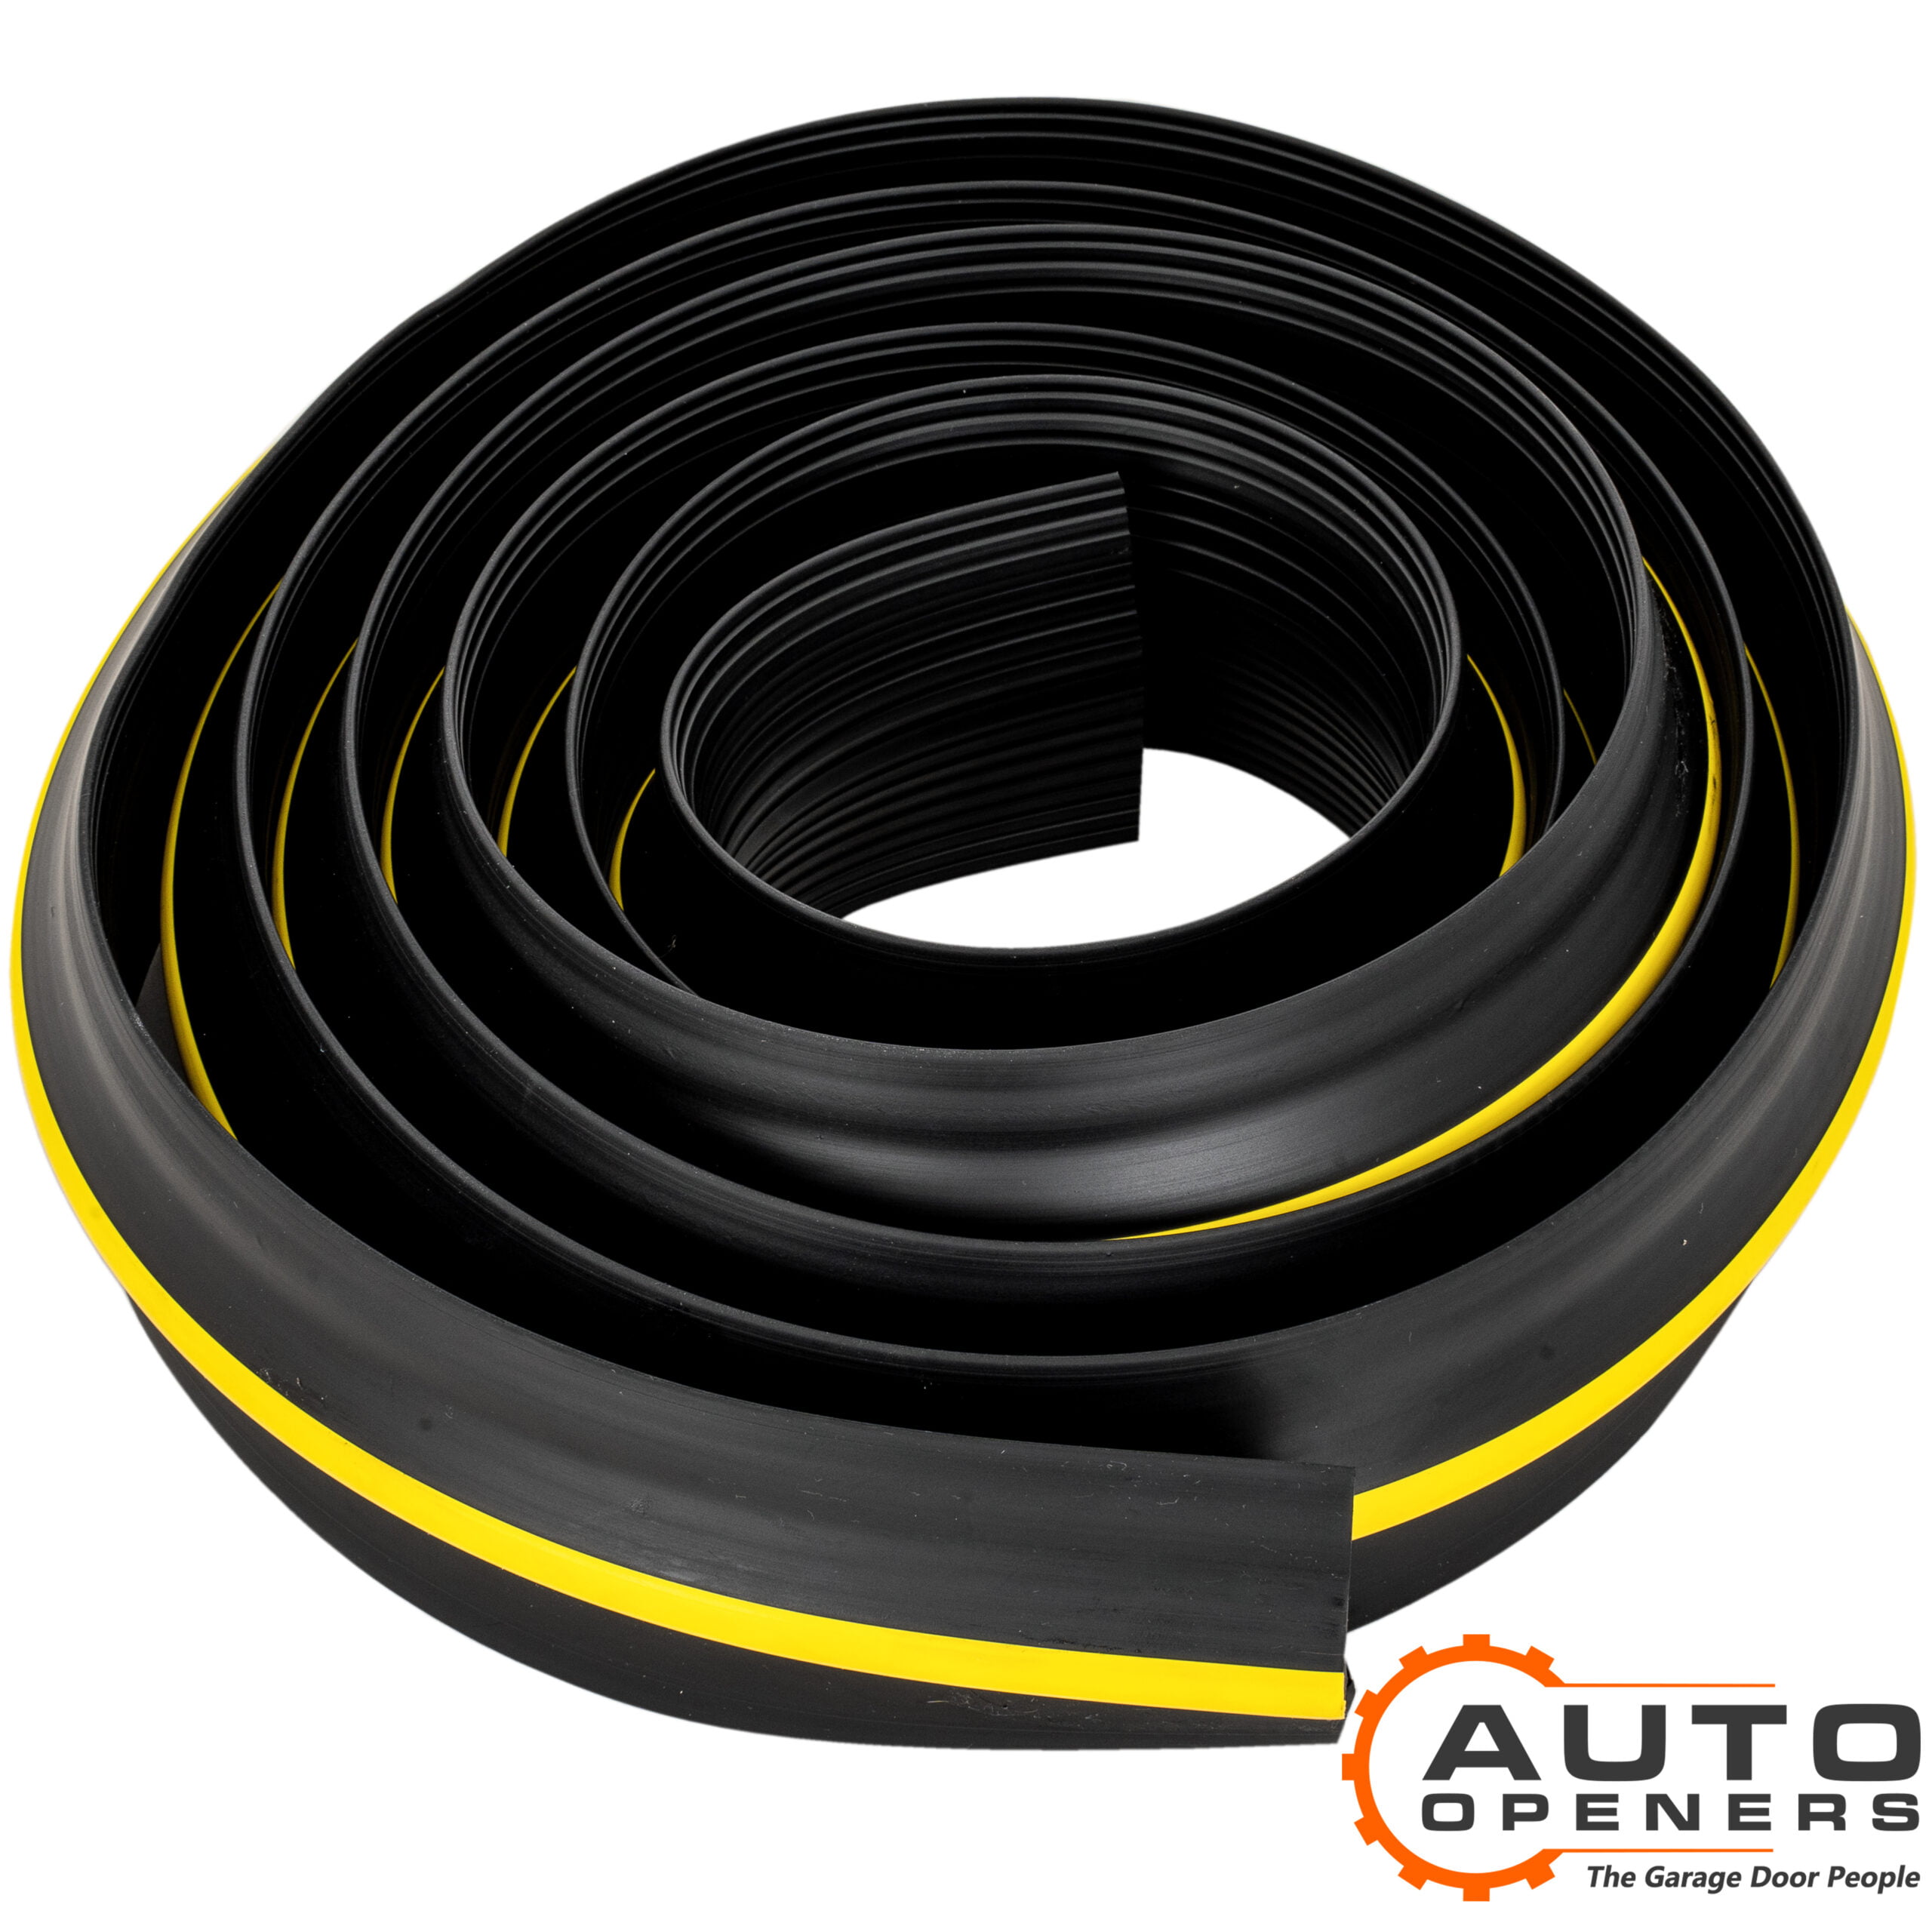
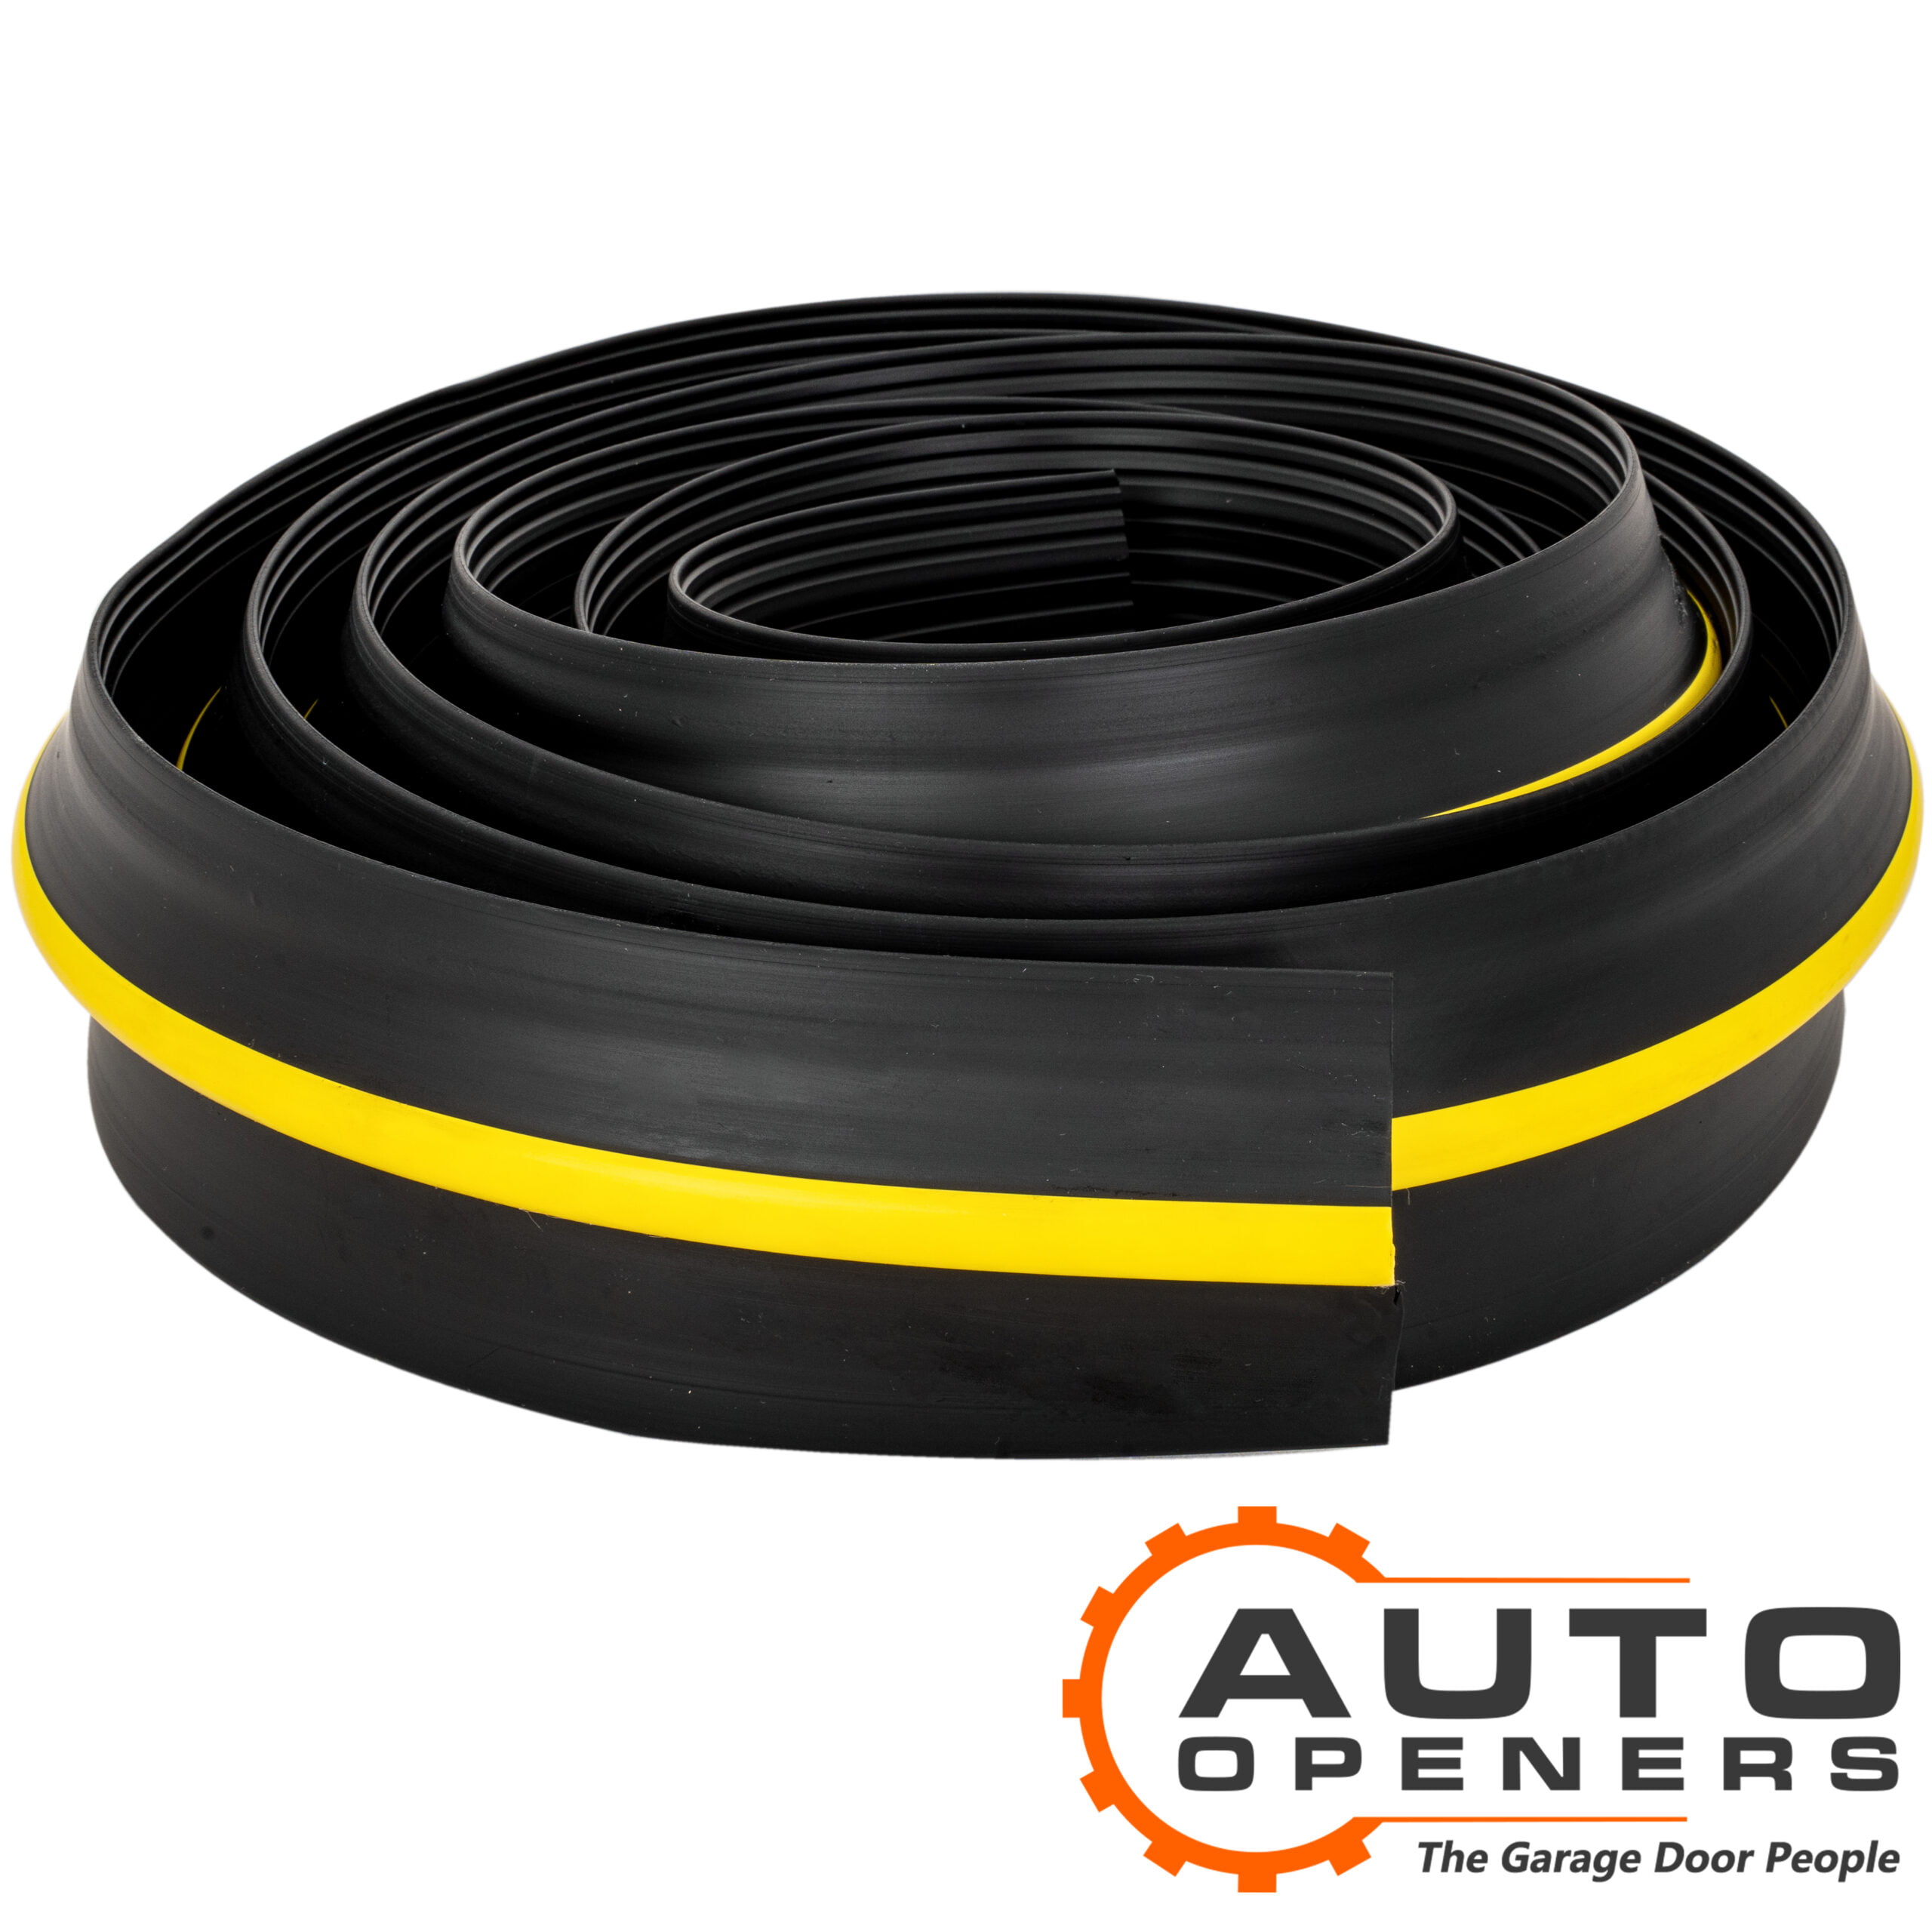
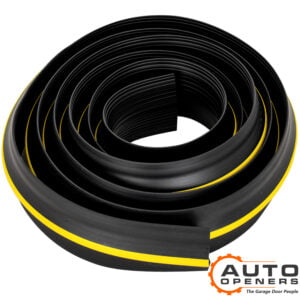
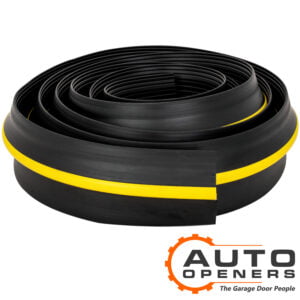
Rising in popularity post-mice plague in Australia are garage door floor seals. Extremely common in the UK due to their ability to keep out the rain as a weather stop and leaves, Auto Openers now manufactures a garage door threshold seal that fixes to the concrete in the opening of your garage door and help create a better seal against the elements and unwanted visitors.
This seal is strong enough to have trucks drive over, resistant to mice entry and especially useful if you have a driveway that slopes down towards your garage and allows rain water to pile up against the door and run underneath onto the floor. The seal not only helps to block out rising water, it also helps with sealing gaps created by uneven garage floors – no need for getting a roller door with a taper!
The Auto Openers threshold seal is also environmentally friendly, being made from materials which are fully recyclable. Not only that, but using a floor seal will save you money by reducing energy costs from stopping heat escaping underneath and around your garage door.
Garage Door Weather Stop Installation
Step 1
Measure the overall width of the garage door opening (brick to brick) and add an extra 100mm overhang, so you can trim the seal to perfectly fit your door frame. Cut seal to length.
Step 2
Position the floor seal against the inside edge of the garage door frame, mark with a pencil where the floor seal needs to be trimmed to fit around the door frame at either end. Trim the seal using a Stanley knife and ensure a snug fit around door frame. The seal can be very tough to cut, clippers also work quite well.
Step 3
From inside the garage (with the garage door itself closed), push the floor seal firmly under the door so that the raised section of the seal is touching the bottom inside edge of the garage door. Once you are happy with the position, mark along the floor the entire length of the seal with a pencil, then open the door and carefully mark the floor along the outside edge of the seal.
Note: You can check a good fit by looking for light coming through between the threshold seal and garage door bottom seal with the door closed. There should be no light visible to ensure water-tight seal.
Step 4
Remove the floor seal apply a 4-5mm bead of sealant inside these lines in a zigzag formation. Once you have finished applying the sealant, immediately position the floor seal. We recommend the use of either Soudal Seal & Stick, or Sikaflex.
Step 5
Finally, starting at one end place the floor seal over the sealant on the floor and press firmly downwards, continuing until the entire floor seal and been stuck to the concrete. Carefully check fitment and make any necessary final adjustments before sealant cures. Excess sealant should be wiped clean immediately or trimmed once dry. Close your garage door on top of the seal.
We recommend installing your seal in the evening, so your floor sealant has time to cure overnight with the door pressing down on top. This can take 8 hours to properly cure, but is weather dependant.








Reviews
There are no reviews yet.